When custom templates were released for Google Tag Manager, I updated my workflow for working with GTM. Instead of instinctively rushing to the Custom HTML tag and the Custom JavaScript variable, I started considering whether the custom script that needed to be deployed could be transformed into a custom template first.
While publishing numerous templates into the community gallery, I always spent some time over the past 12 months tinkering on an extremely complicated template translation: the Snowplow Analytics JavaScript tracker.
I’ve written about Snowplow before, and I have a soft spot in my heart for their wonderful DIY approach to the analytics pipeline.
In this article, I’ll introduce the two templates I’ve created, and I’ll share some of the design philosophy with you. It’s been a strange ride, and I’ve found myself pushing the capabilities of custom templates to their limits.
This article is not a manual for the templates. You should turn to the respective technical documentation linked in the table below.
| Template | Type | Documentation | Gallery | GitHub |
|---|---|---|---|---|
| Snowplow Analytics | Tag | Link | Link | Link |
| Snowplow Analytics Settings | Variable | Link | Link | Link |
The Simmer Newsletter
Follow this link to subscribe to the Simmer Newsletter! Stay up-to-date with the latest content from Simo Ahava and the Simmer online course platform.
Thank you
The preliminary, pre-release work on the templates was done by me, but the templates have been released for open-source development under Snowplow’s own GitHub organization. I believe this to be vital for keeping them up-to-date and linked with the development of the JavaScript tracker.
I want to thank in advance anyone who contributes to the development of these templates, even if it’s just in online discussions, blog comments, or via GitHub Issues.
Huge thanks to Paul Boocock from Snowplow. He walked through the template with me to spot any inconsistencies, and he also helped establish the setup for open-source development of the templates.
The tag template
The Snowplow Analytics tag template is a fairly faithful implementation of the full Snowplow Analytics JavaScript tracker library.
The library itself is reminiscent of the Universal Analytics library and the Matomo (former Piwik) JavaScript SDK. These similarities make it easier to translate it to a template, as we can use the native Universal Analytics tag template for inspiration.
General overview
In general, when the tag is fired, it goes through the following motions:
- Loads the tracker library from a self-hosted URL.
- Creates the global namespace for the method name (similar to how Universal Analytics generates the
gaglobal object). - Initializes a new (or reuses an existing) tracker object.
- Compiles the settings of the tag into a command that is then passed to the global method.
- The library takes this command from the queue, builds it into a payload, and sends it to the collector endpoint.
All in all, the process is fairly similar to how Universal Analytics works. The biggest difference on a superficial is the DIY nature of the pipeline. You need to self-host the JavaScript library, and you need to build the collector yourself.
Initializing the tag
Converting a library into a template is a complicated task. A lot of time needs to be devoted to understanding how the library works, and then looking at the restrictions of custom templates.
Loading the library and initializing the global namespace was easy - the injectScript API handled the first, and a copyFromWindow / setInWindow combo the second.
If the global namespace isn’t established, the script creates it, using a similar queue method that Universal Analytics uses.
Then, the first hiccup is faced: initializing a tracker.
The Snowplow global method doesn’t have a function to check for the existence of a tracker. There are ways to drill into the object and seek this information, but because there’s no official API for querying tracker status, I didn’t want to start parsing the object without guarantee it will work in the future.
So, to persist information about trackers that have been created, I used a new global array, window._snowplow_trackers. This array stores all the trackers that have been initialized, and when the tag fires, the tracker name is checked against this list to verify whether a tracker already exists.
Major caveat with the self-hosted library
There is a major problem with using injectScript.
Because I, as the template author, have no idea about the URLs the template users might load the self-hosted script from, it falls on the template admin to make sure the template permissions are updated when the self-hosted library URL is changed.
There are instructions for this here.
UPDATE 18 May 2020: The template has been updated to support AWS Cloudfront and Google Cloud Storage destinations by default (
https://*.cloudfront.net/*andhttps://storage.cloud.google.com/*). If you load the library from either destination, you do not need to update the permissions forinjectScript!
Unfortunately, changing permissions breaks the gallery link, meaning you won’t be notified about updates to the template.
I have submitted a feature request to Google about this. Changes to permissions should be uncoupled from the gallery link.
The tracker configuration
The tracker is created with an optional argument map of configuration settings.
At first, I considered adding all the tracker options as fields into the tag. However, this led to serious bloat, and I wanted to keep the tag as lean as possible (very difficult task, by the way).
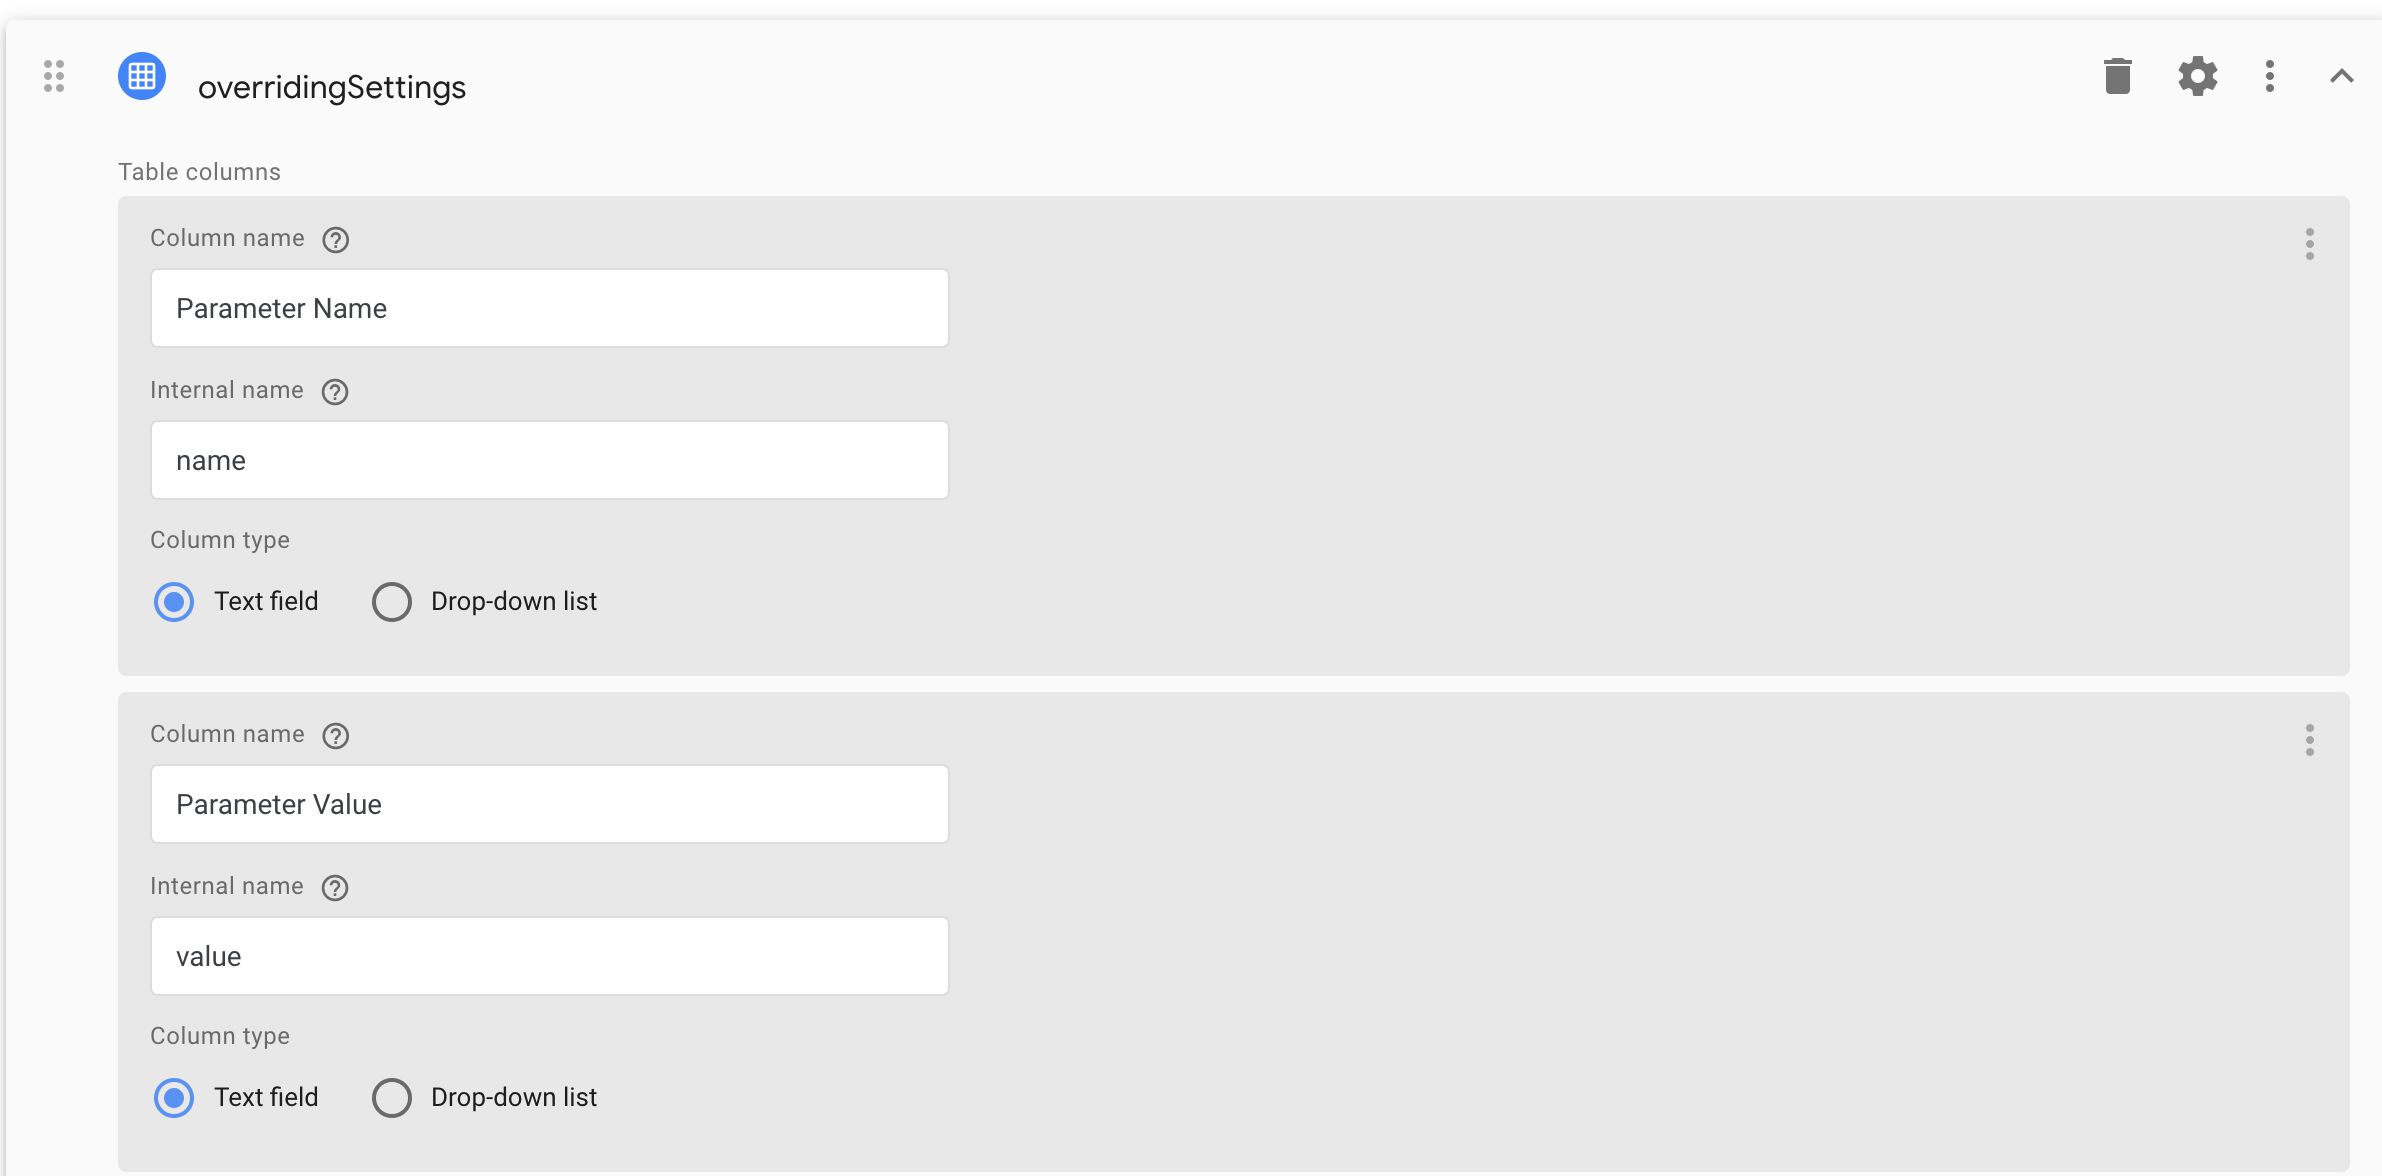
So then I thought of just adding a table of parameters where the user can type the key-value pairs they want.
While this is very functional, it has some drawbacks. It’s very unintuitive, and the user needs to browse the Snowplow tracker documentation to build the argument map correctly.
The Snowplow Analytics Settings variable
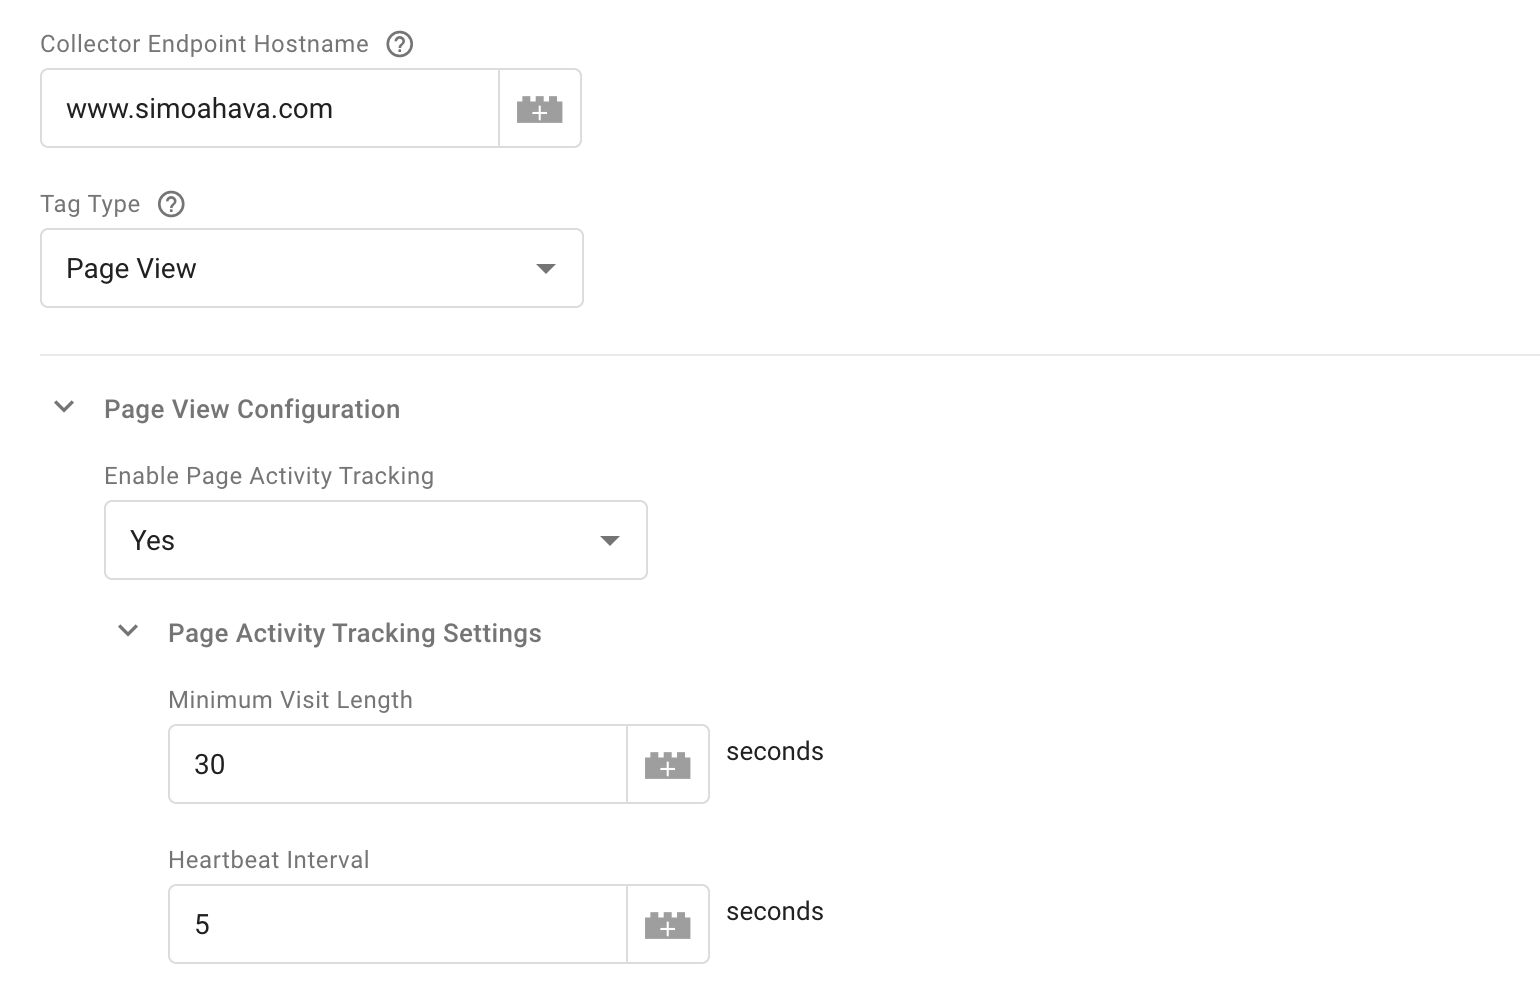
Finally, I decided to follow what the Universal Analytics tag does with the Google Analytics Settings variable. The settings variable is another template, where the user can utilize a nice user interface for setting individual settings.
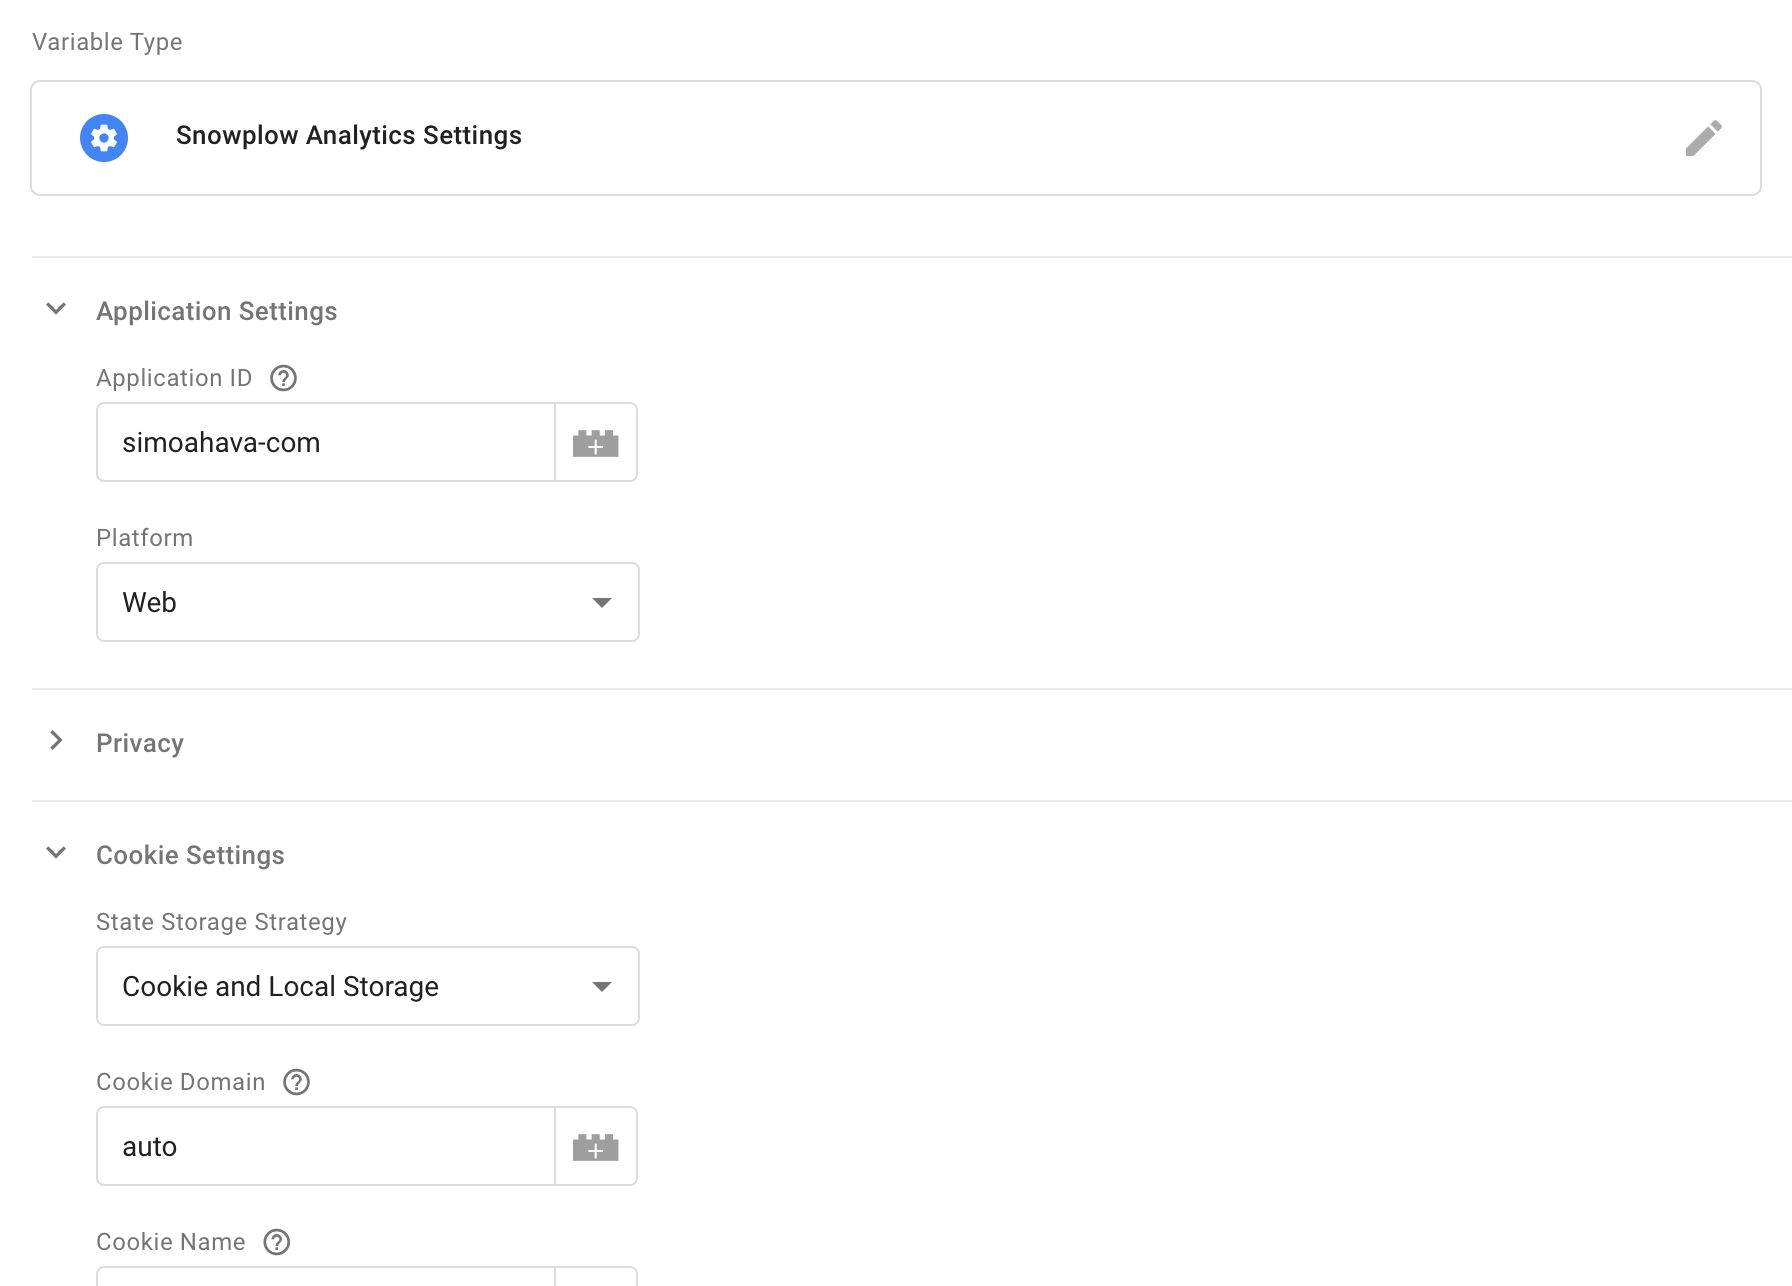
Once the variable has been created, the user can add it to the Snowplow tag via the drop-down menu.
I decided to leave the parameter table as well. The user can check the Enable Overriding Settings For This Tag to add/modify individual parameter fields with the table. Anything added to the table overrides the corresponding parameter in the settings variable.
Though there’s no clear way to use the table to delete a setting from the variable, setting a parameter name to undefined should work.
Missing pieces
There’s one thing missing from the tracker configuration process: cross-domain linking. As this relies on parsing HTML elements in the callback, it couldn’t be implemented in the custom template due to restrictions of the sandbox API.
You can still introduce cross-domain linking with a Custom HTML tag. I also submitted a feature request to Snowplow where cross-domain linking could be done by passing CSS selector strings or href patterns via the callback, rather than link elements themselves.
Building the command(s)
Once the library is loaded and the tracker is initialized (if necessary), it’s time to take the rest of the settings in the tag and bundle them into a command.
Building the command is split into three different types of user interfaces:
- Commands with a generic parameter object.
- Commands with special conditions.
- Custom commands.
Parameter object
The Snowplow JavaScript tracker uses positional arguments to handle command logic. This means that the arguments need to be provided to the global method in a specific order, so that the values correspond with their correct, functional counterparts.
For example, ad tracking and impression requires the command to be compiled like this:
snowplow_name_here('trackAdImpression',
    '67965967893',             // impressionId
    'cpm',                     // costModel - 'cpa', 'cpc', or 'cpm'
     5.5,                      // cost
    'http://www.example.com',  // targetUrl
    '23',                      // bannerId
    '7',                       // zoneId
    '201',                     // advertiserId
    '12'                       // campaignId
);
Having the architecture setup like this makes life difficult for this particular template author. Because of this, any named arguments need to be mapped into positional arguments. With parameter-based objects, it means that the user can create a parameter map either using a Google Tag Manager variable or the parameter table, and the object would look like this:
{
  impressionId: '67965967893',
  costModel: 'cpm',
  cost: 5.5
}
But because Snowplow uses positional arguments, I can’t simply attach this object to the call. That would have been beautifully elegant and simple, and would have shortened the template codebase by about a half!
Instead, the code needs to map these named parameters to their correct positional counterparts:
// Pseudo-code
snowplow_name_here('trackAdImpression',
  data.argMap.impressionId,
  data.argMap.costModel,
  data.argMap.cost
);
I could have taken the easy way out and required the user to pass the positions themselves by returning an array instead of an object, but that would have made for a very clunky experience.
With named arguments, I can also do validation:
if (['cpa', 'cpc', 'cpm'].indexOf(data.argMap.costModel) === -1) return fail('Invalid "costModel" argument provided in trackAdImpression call!');Unfortunately, as mentioned above, mapping the named parameters to their positional counterparts leads to a lot of extra code. I have submitted a feature request to Snowplow to support object arguments as well, as that would elegantly solve the whole problem (and converge with how Universal Analytics works, for example).
Special commands
For commands with extra functionality, such as Page View and Link Tracking, I needed to create their own field groups. I could have gone forward with just an argument map again, but with e.g. page ping tracking and automatic link tracking the argument maps wouldn’t suffice, as they needed to be executed as separate, additional commands.
Building these special groups wasn’t problematic per se, but there were cases where I was pushing against the limitations of the custom template sandbox. For example, automatic link tracking lets you add element-based filters and contexts to the call. Because the sandbox doesn’t let you interact with HTML elements, using these features is impossible.
That’s why automatic link tracking and form tracking have been stripped to just the whitelist and blacklist features.
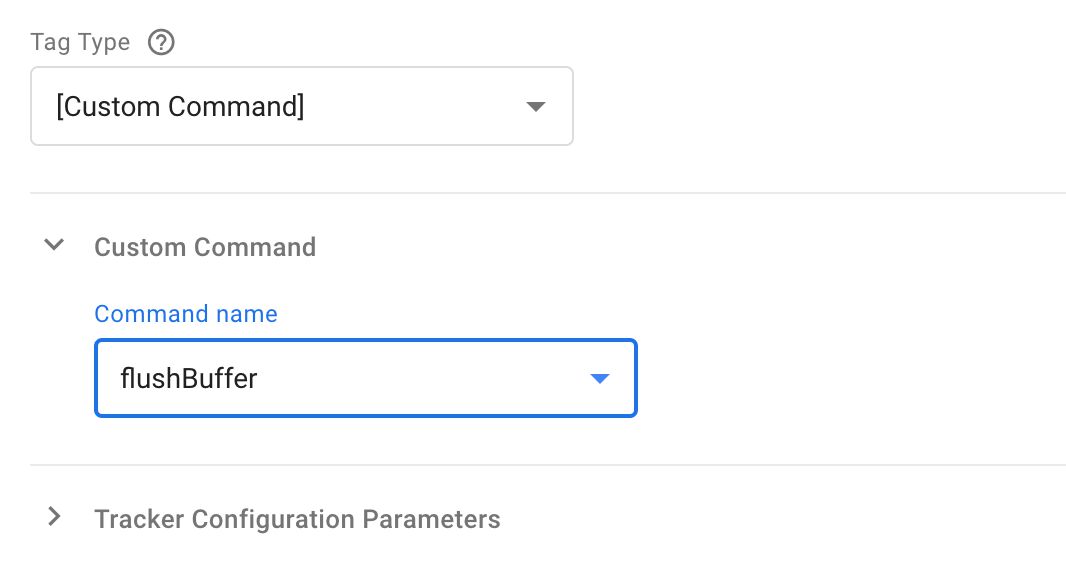
Custom commands
Finally, there are many commands in the Snowplow library that aren’t directly related to an event. These are all grouped under Custom Commands.
Many of these are just plain commands without any arguments. In such instances, the Command argument field is not shown.
In other cases, there’s a field where the user can add the argument(s).
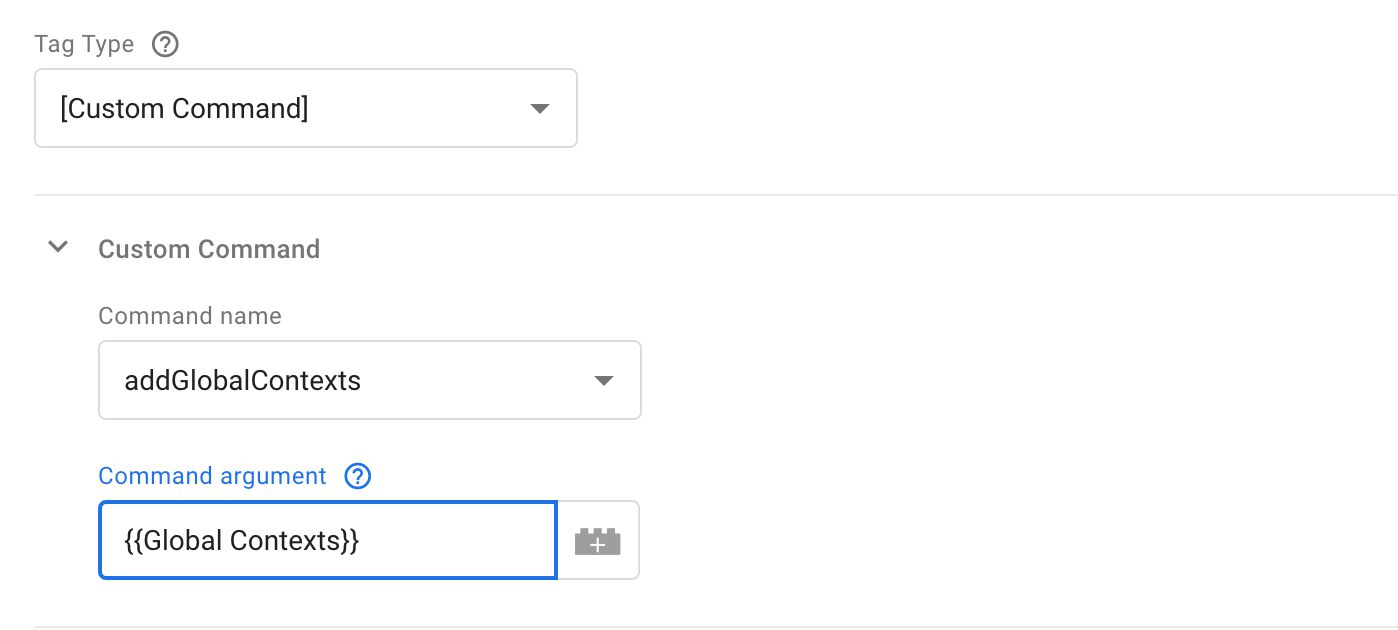
There’s only very little validation for these arguments. Typically it’s making sure the parameter is in the correct format, and with e.g. enableGdprContext it turns a comma-separated string into an array.
However, the expectation is that when the template user adds custom commands, they either know exactly what they’re doing, or they’re reading documentation that explains how to set these things up.
In general, I’d recommend using Google Tag Manager variables instead of hard-coding the arguments. It makes it easier to switch on the fly if necessary.
Firing the commands
Finally, once the tracker is created and the commands have been built, they are all executed in order by invoking the global method.
For example, creating a new tracker, setting up page ping tracking, and sending a pageview would end up with the following items added to the global queue for execution (in order):
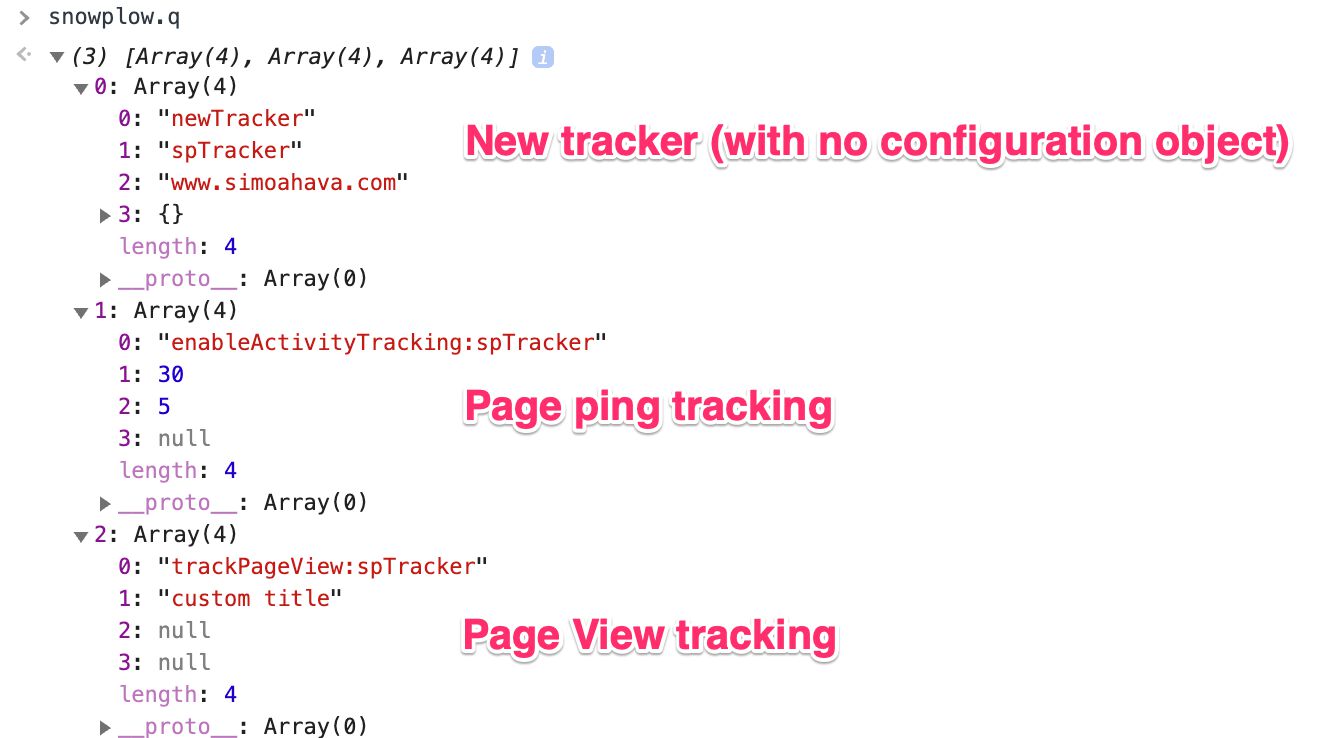
Summary
Building the template has been a very educational journey, and it also helped spawn a number of feature requests for Google Tag Manager and for Snowplow’s JavaScript tracker, each of which I’m sure will make both solutions even stronger.
Early on I had an idea of creating a super smooth user interface, where every single parameter, event, and option was confined to its own field with full validation, value hints, help texts, and so forth.
This was a bad idea.
First of all, there’s a limitation of something like 100 fields in any given template. Before you shout in indignation, it makes perfect sense. Having a behemoth of a template forced upon the UI every single time a new tag or variable is created is not favorable to Google Tag Manager’s performance.
Also, if you have a template that requires 100 fields, it’s possible you should look into modularizing it.
The Snowplow template is big. It’s close to the 100 field limit. I know this because I ran into the limit a couple of times and had to refactor. If it turns out to be a performance hog, I’ll look into splitting it up into smaller parts (e.g. one template for most used events, another for the rest).
Separating the tracker configuration into its own variable template was a step towards modularity, and depending on the feedback we’ll (Snowplow and I) see if there needs to be more of it.
I hope this article has been useful. I’m still a huge fan of custom templates and firmly believe they are the future of Google’s tag management. I do hope that new APIs are consistently added to the sandbox, as some of the limitations are pretty jarring especially when methods you’d expect most JavaScript libraries to leverage are blocked (I’m looking at you, JSON.parse).
If you have feedback about the templates, be sure to raise them as issues in the respective repositories: Snowplow Analytics tag template and Snowplow Analytics Settings variable template.