Provision Server-side Tagging Application Manually
The automatic provisioning process of the Google Tag Manager server-side tagging service is extremely useful.
With just a few clicks of the button, you can have a fully functional (albeit limited to testing use) server-side tagging endpoint on the Google Cloud Platform (GCP).
For a video overview of the automatic deployment, see this video.
However, the automatic provisioning process creates a new Google Cloud Platform project and, at the time of writing, always deploys the App Engine application (on which the tagging server runs) in the us-central-1 GCP region.
The latter can prove especially problematic in case you have a lot of traffic from non-US locations, as the longer the route for the network traffic, the more you’ll have to pay for it. Once the region is set for an App Engine application it cannot be changed.
In this article, I’ll show you how you can manually create the tagging server either in an existing GCP project or a completely new project that you’ve created.
Among other things, this way you’ll get to choose the geographical region for the tagging server during the provisioning process, as long as the project doesn’t have a previously deployed App Engine application.
Table of Contents
It’s basically the same process you’ll follow when upgrading the server to a production deployment, with the difference that you’ll need to do a little bit more manual work to get things up and running.
XThe Simmer Newsletter
Subscribe to the Simmer newsletter to get the latest news and content from Simo Ahava into your email inbox!
Add the application to a GCP project
As you are building the application manually, you either already have a Google Cloud Platform project to which you want to add the Server container application, or you want to create a completely new project for this application.
Whichever route you want to take, you need to do two things.
First, visit the Cloud Build API page by following this link. Then, make sure you are in the correct project, and finally choose Enable to enable the API.
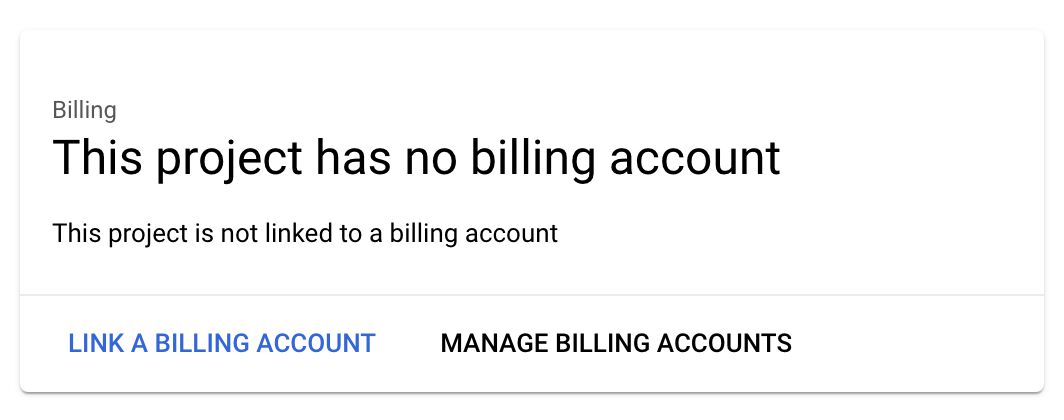
Second, you need to link the project to a Billing Account by following this link. You need to enable billing for the project in order to run the provisioning setup.
Open the project in Google Cloud Console
Double-check that you are in the correct project in the Google Cloud Console.
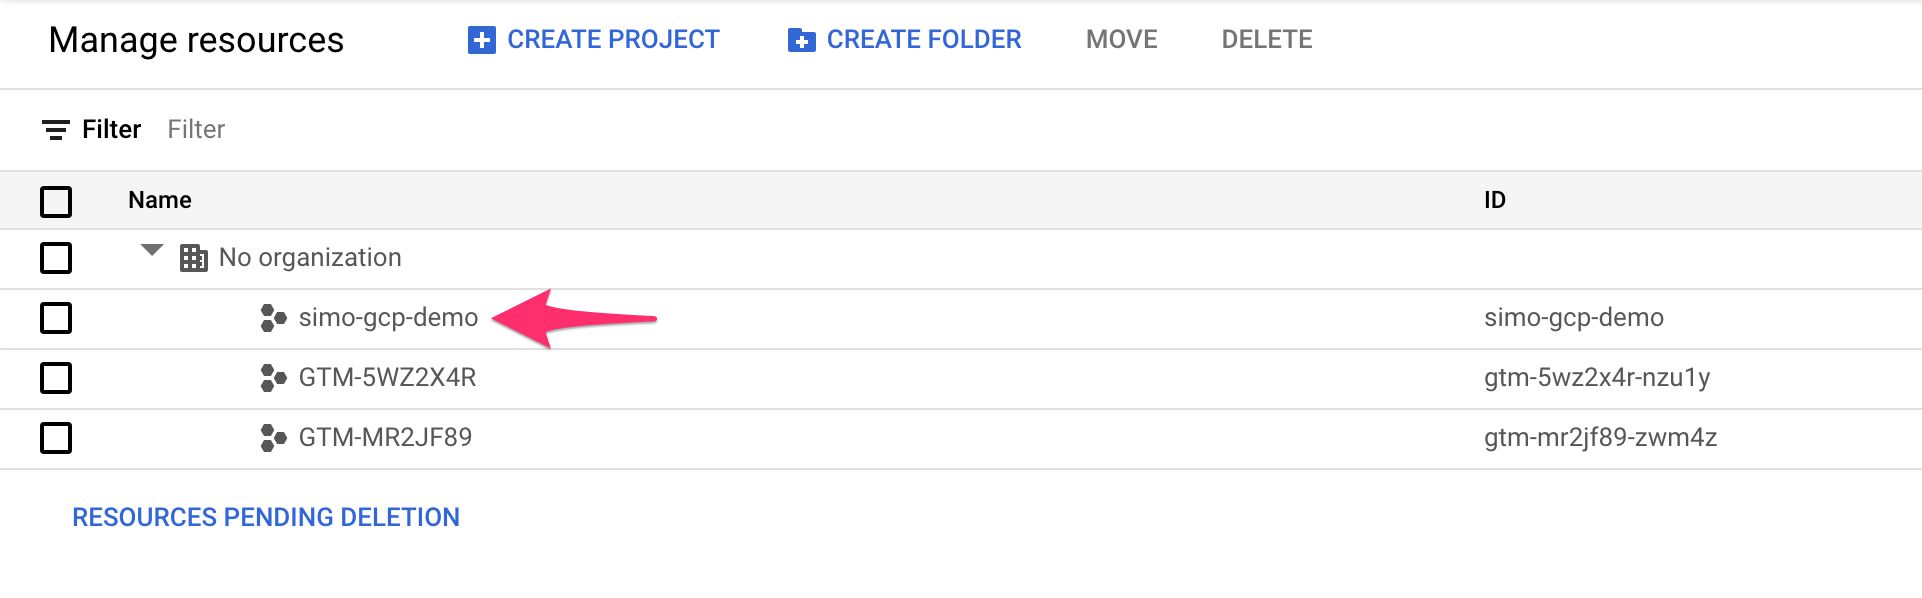
Find the project in the Cloud Resource Manager and click to open it.
Check for a previous App Engine application
Before going any further, visit the App Engine dashboard of the project. If you see a proper dashboard with data from an existing application, be warned.
If you try to add the GTM Server application to a project with an existing App Engine app, the GTM Server will completely overwrite any previously installed service.
Make sure you communicate with the application owner that this is about to happen.
Run the upgrade script
Once you’ve checked and double-checked that the App Engine application can be installed in the project, you can go ahead and run the script that handles the provisioning process for you.
The following chapters outline the steps you need to take.
Open Cloud Shell
In the Google Cloud console for the project you want to create the application in, fire up an instance of Cloud Shell by clicking the dedicated icon in the top bar.
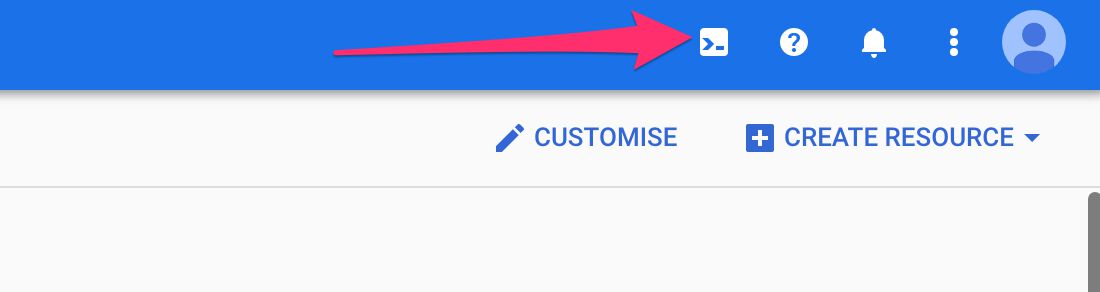
Cloud Shell is a command-line shell prompt where you can run commands and execute scripts with all the Google Cloud API components pre-installed. So you don’t have to worry about installing dependencies such as the gcloud tool, as they are all preconfigured for you.
You can do most of this stuff outside the Cloud Shell (e.g. in a local shell prompt or in the Google Cloud console), but running the upgrade script in the Cloud Shell means you don’t have to worry about any of the overhead of setting up the necessary tools and dependencies.

If you see a prompt such as the one above, make sure you click Authorize to give Cloud Shell all the necessary access to your Google Cloud project.
Run the script
After the shell instance has finished loading, you should find yourself in a command-line interpreter within your GCP project.
Now, copy the following shell command, paste it into the Cloud Shell command-line, and press enter:
bash -c "$(curl -fsSL https://googletagmanager.com/static/serverjs/setup.sh)"
Double-check the official documentation to make sure you are running the most recent version of the shell command. I will, of course, make sure this guide is as up-to-date as possible.

This script has been created by Google, and it contains all the necessary Google Cloud API commands to create the App Engine application in your project.
If the project already had an App Engine application, and that application was not a previous GTM server, you’ll see the following warning:

Remember that by pressing y, the previous application will be removed and replaced with the GTM server. Only proceed if you have permission to do this!
Copy the Container Config string
The very first setting you need to respond to is the Container Config. This is what links the Google Cloud project (your GTM server endpoint) with your Google Tag Manager container.
With this configuration, you can control how the GTM server works through the familiar Google Tag Manager user interface.
To find the Container Config, go to the Google Tag Manager container for which you are creating the GTM server, and click the container ID in the header.

Alternatively, if you are just in the process of creating a new container, once you get to the Install Google Tag Manager overlay, do not click Automatically provision tagging server. Instead, click Manually provision tagging server.
Regardless of which way you go about it, you should see an overlay appear where a Container Configuration (or Container Config) is displayed. It’s a nonsensical string of alphanumeric characters.
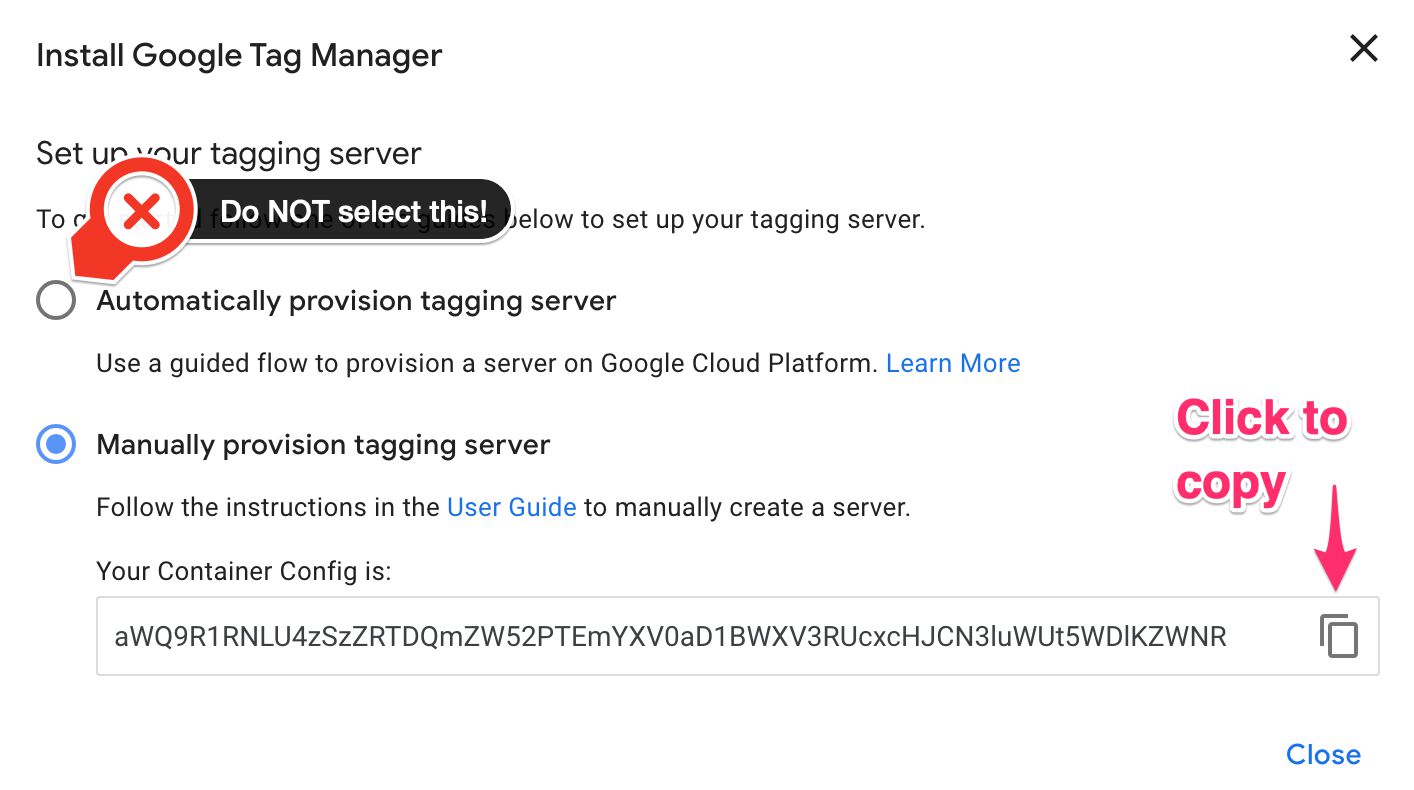 The Container Config parameter in the overlay you see when creating a new container
Copy that to the clipboard, and paste it into the Cloud Shell where you are asked for the Container Config.
Configure the rest of the upgrade script
Provide the rest of the configurations for the upgrade script:
| Configuration | Description | Note |
|---|---|---|
| Policy Script URL | Provide a URL to a policy script if you wish. | Optional. |
| Request Logging | Whether App Engine will log all incoming HTTP requests to the GTM server. | If you find logging costs accumulating, you can optimize logging. |
| Deployment Type | testing fires up a single App Engine Standard instance. production spins up additional App Engine Flexible instances. | Don’t use testing if you want to handle production traffic. |
| Autoscaling | Whether the system should automatically scale up instances to accommodate for traffic spikes. | Only for production deployments. |
| Minimum Number of Servers | What the minimum number of App Engine Flexible instances is at any given time. | Only for production deployments. |
| Maximum Number of Servers | What the maximum number of App Engine Flexible instances is that the system can auto-scale to. | Only for production deployments. |
| CPU Target Utilization | What the threshold for CPU Utilization is (between 0.0 and 1.0) before a new App Engine instance is scaled up to. | Only for production deployments. |
Here is an example of what the configuration might look like:
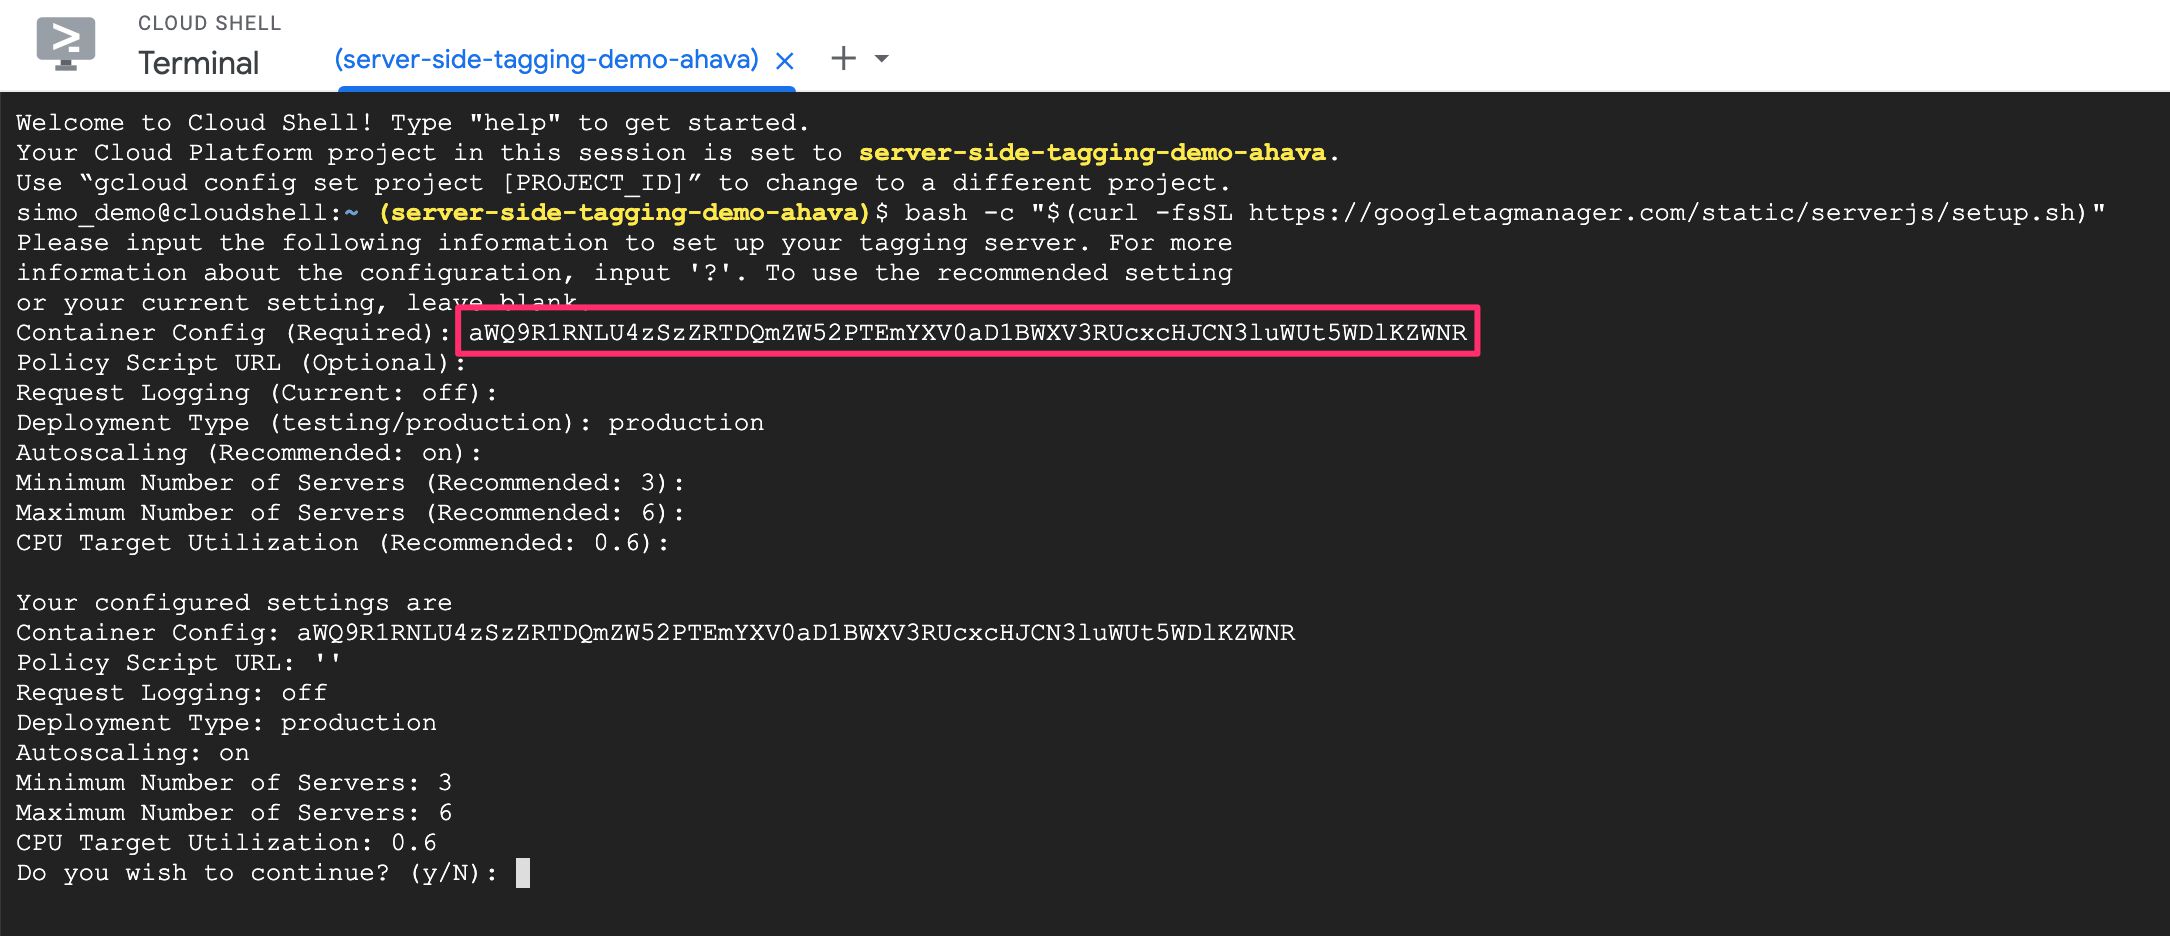
If you are ready to continue, type y and press enter.
Choose the App Engine region
If you are creating the application in a project that already has / had a previous App Engine application, it’s not possible to change its region anymore. App Engine regions are set for good when first created. The only option currently is to create a new project from scratch.
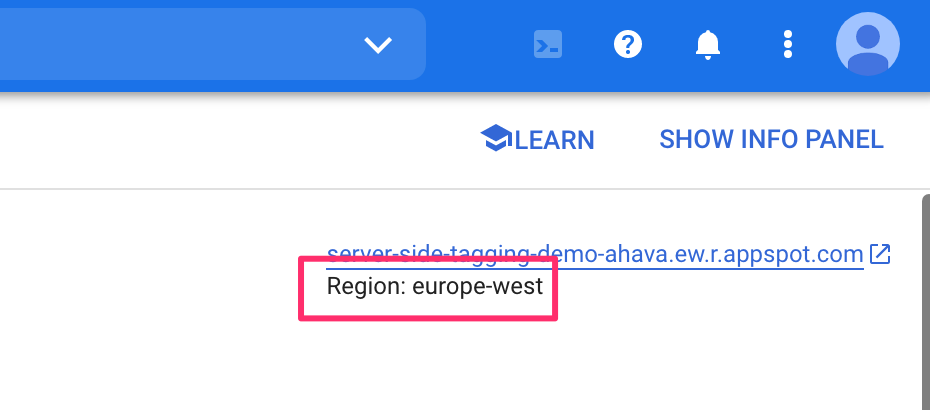
If this is a brand new App Engine application, you will get your pick of the geographical region for the application.
There are many things to consider when doing this, but the most important question is from which region is the majority of requests originating from. For example, if the bulk of your traffic is from the US, you’ll want to pick a US region. If the bulk is from Europe, you’ll want to pick an EU region.
If you are unsure, if it fluctuates, or if the distribution is fairly even, pick a region close to you.
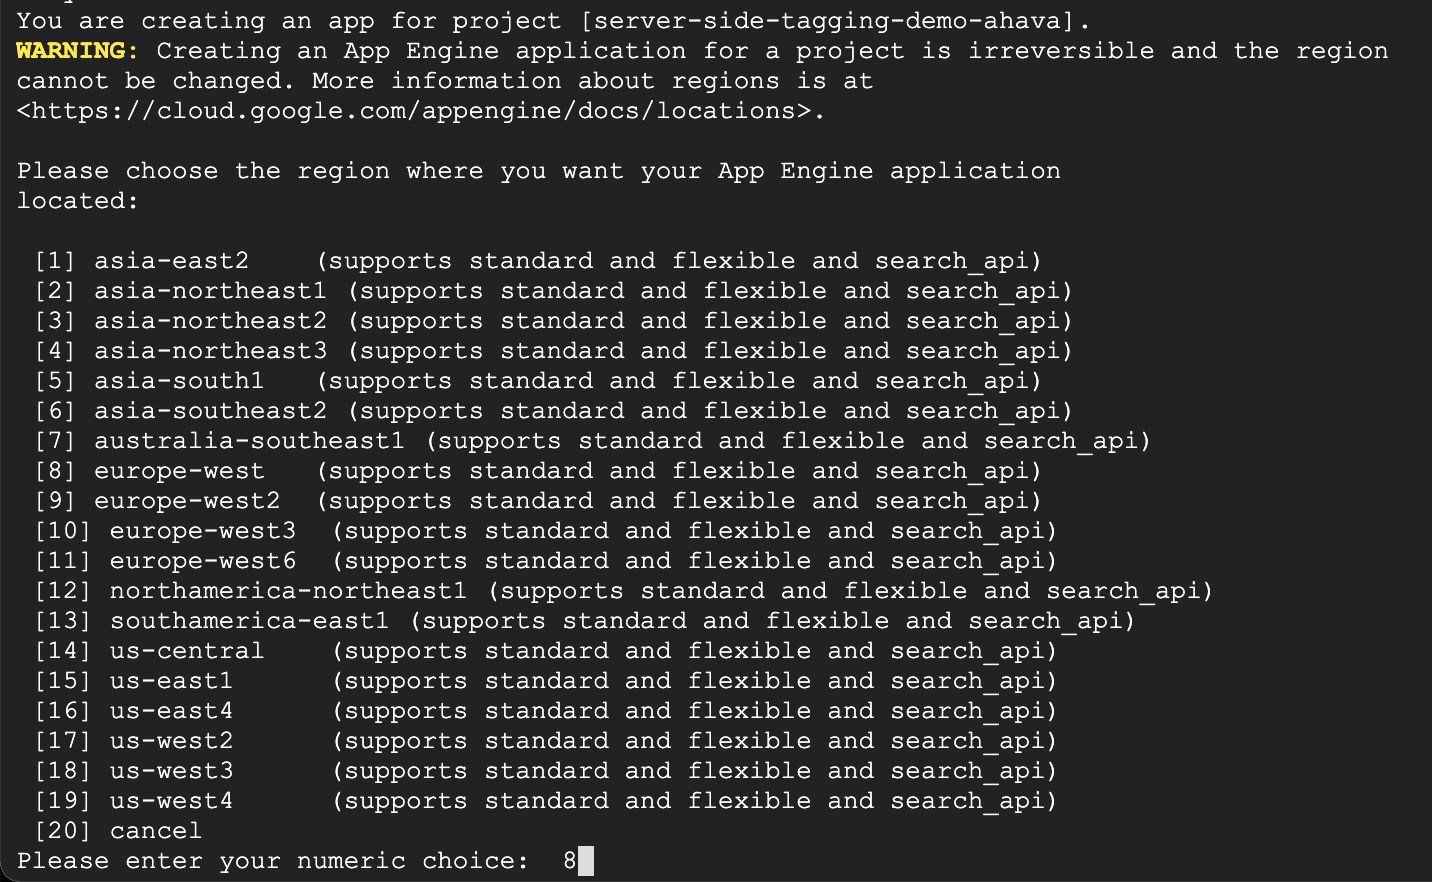
The region selection has an impact on network egress costs, as if the App Engine application needs to send an HTTP request across regions, it will cost more than if the request is sent within the current region.
Test the endpoint
Once the script has run (it will take a few minutes), you can test the endpoint.
By configuring the Container Config in the upgrade script, your App Engine application should be serving requests to your Server container.
Of course, if you haven’t created any Clients or tags, the endpoint won’t actually do anything.
An easy way to test that your endpoint has been configured against the GTM server correctly is to do the following:
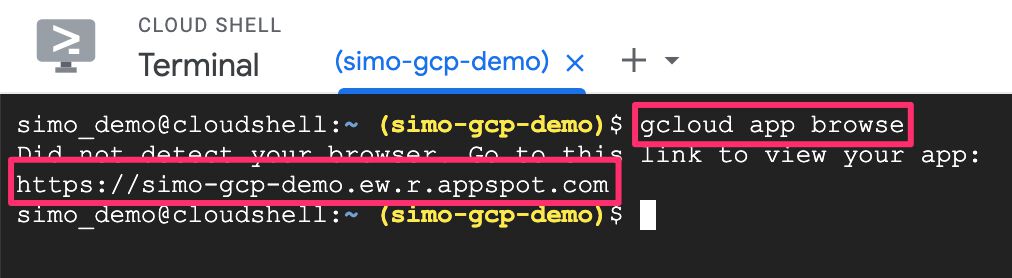
- While still in Cloud Shell, type
gcloud app browseand press enter. This will provide you with the custom URL set for your endpoint as a link. - Click the link to open your endpoint URL in a new tab – you should see an HTTP ERROR 400 page.
- Add the path
/healthyto the URL – you should see a page with the messageok.
 1. Run the "gcloud app browse" command
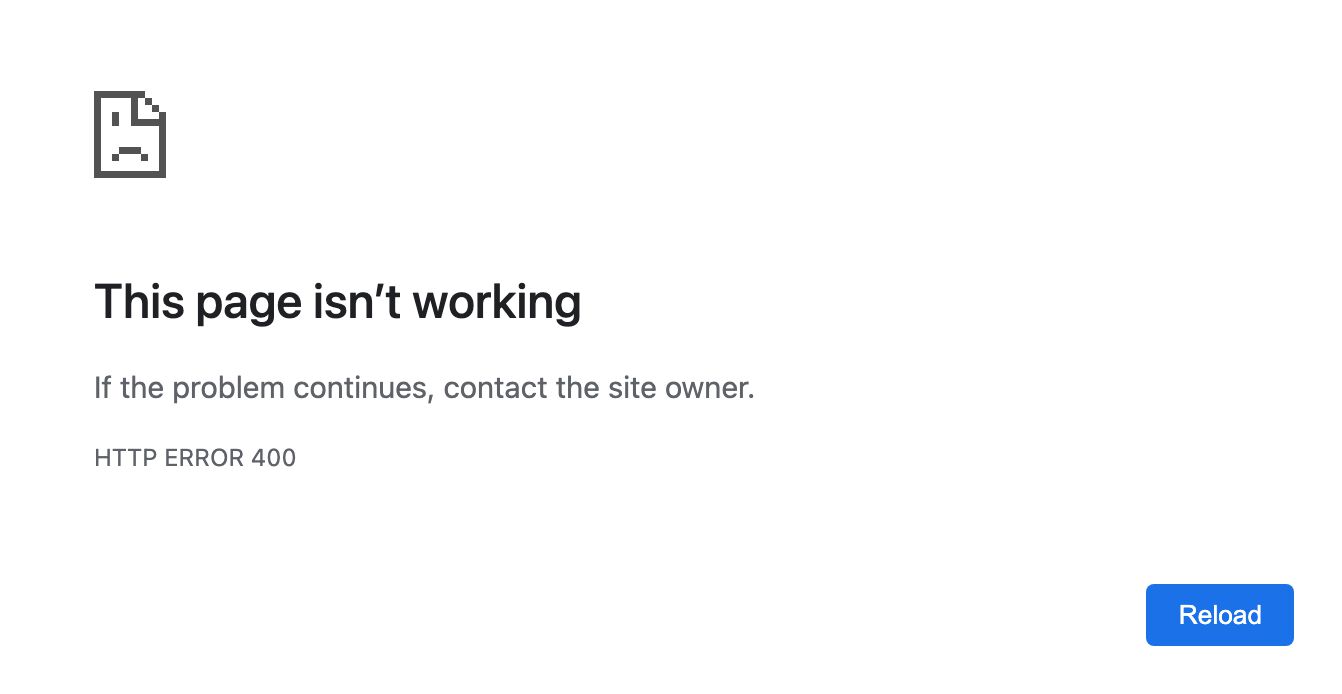 2. See the HTTP ERROR 400 page
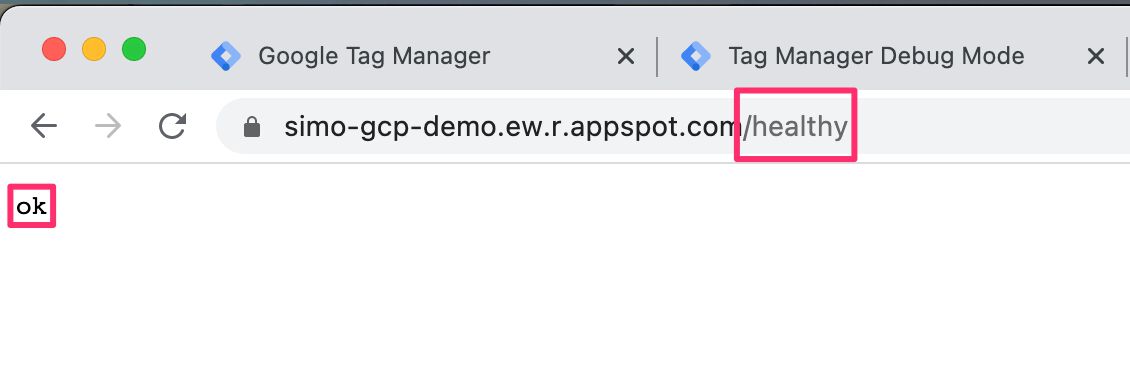 3. Visit the /healthy endpoint and see the "ok" message
The HTTP ERROR 400 just means that there was no Client to claim the request. The /healthy endpoint is built into the GTM Server application and is used to verify that the GTM Server works as it should.
Reconfigure the Google Tag Manager container
Finally, you need to tell the Google Tag Manager container what the new URL for the endpoint is.
For testing, you can continue to use the appspot.com URL. However, you should configure the endpoint with a custom domain as soon as possible (see this chapter for some reasons).
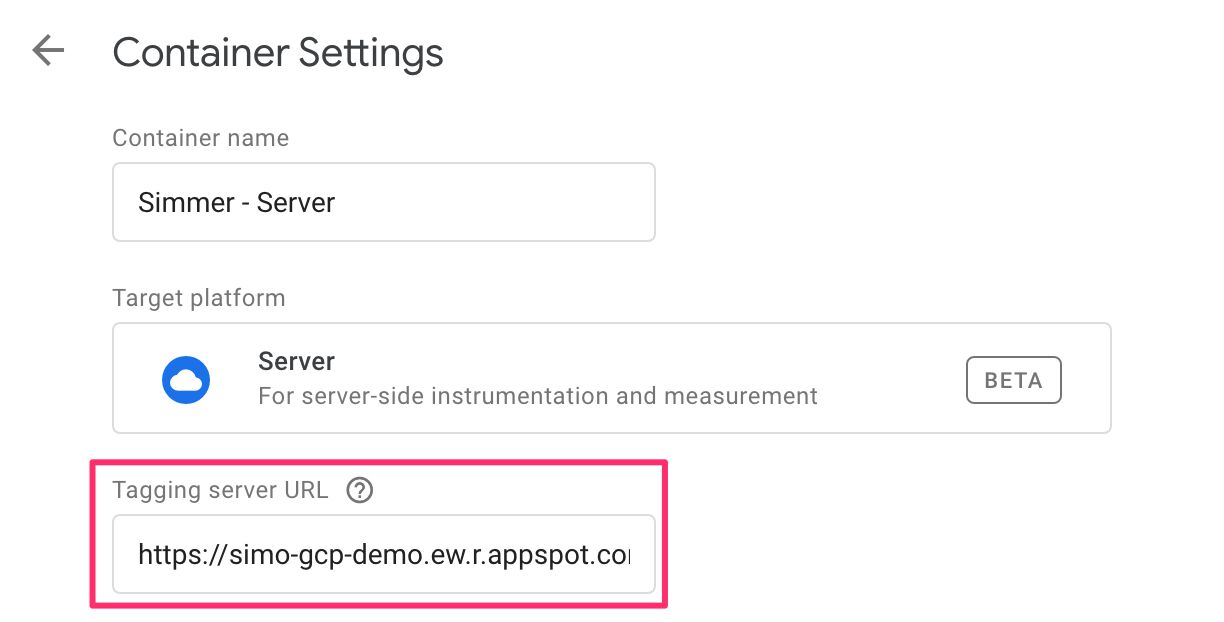
To configure the GTM container to always open Preview mode with your new App Engine application URL, go to Admin in the GTM UI and choose Container Settings. Here, type the appspot.com (or your custom domain) URL into the respective field:
Remember that you can actually configure more than one URL for the endpoint – see this article for more information.
Summary
In this article, we’ve walked through the steps it takes to manually set up an App Engine Application for the Google Tag Manager server.
In most cases, the automatic provisioning process is more than enough to get things started. However, if you want to set the App Engine region to something other than us-central-1, you must run the manual upgrade setup.
Similarly, if you want to install the application to a pre-existing GCP project, you must run the manual upgrade setup.
Hopefully, the automatic provisioning process will be improved in the future to allow for project and region selection as well.
