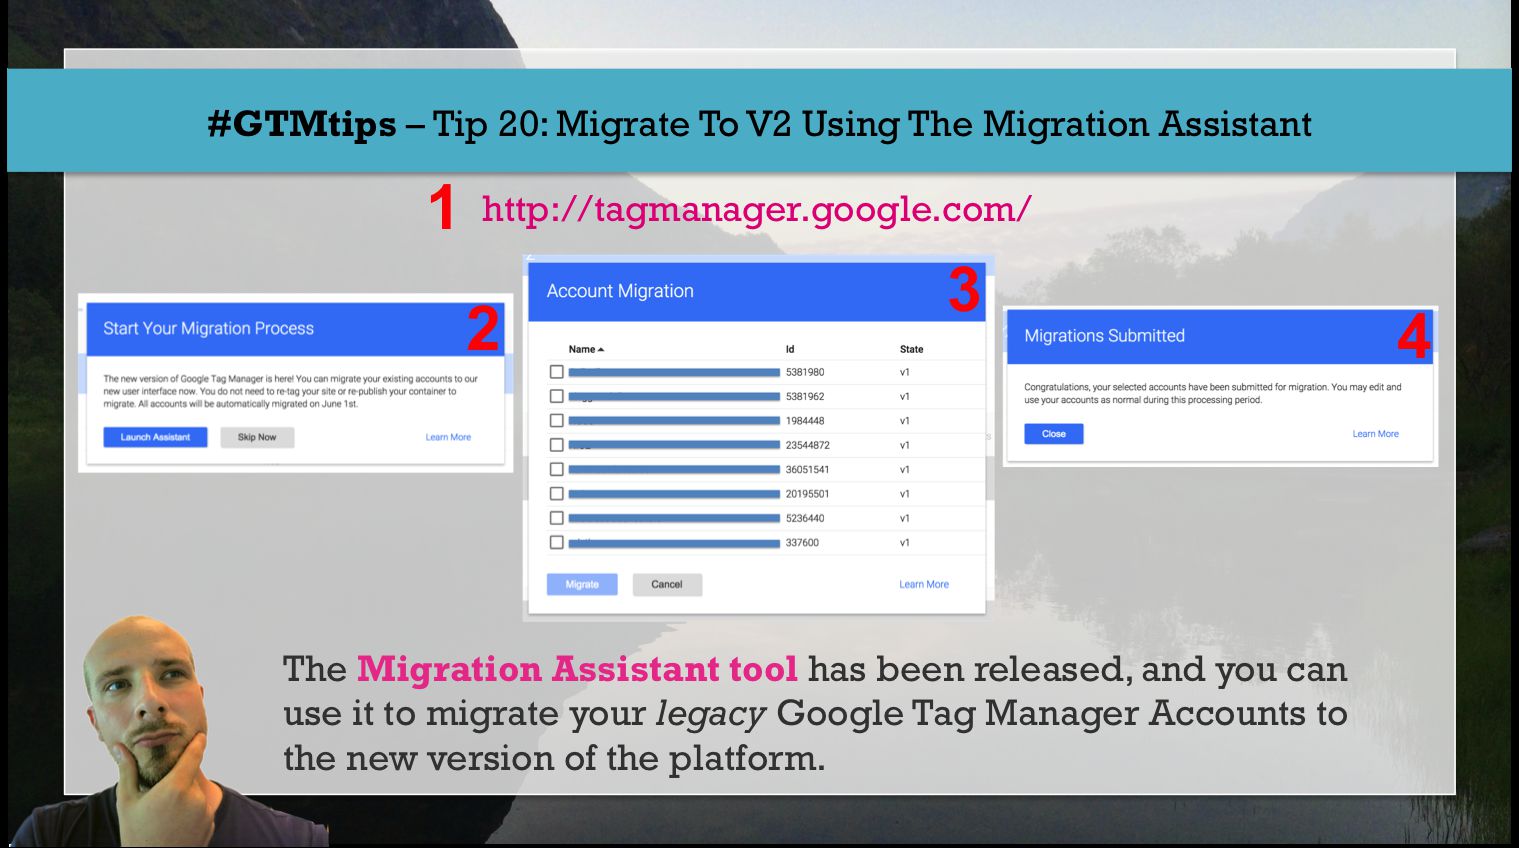
#GTMtips: Migration To V2 Using The Migration Assistant
On March 30th, right on (the latest) schedule, the Migration Assistant tool was published for Google Tag Manager V2. This tool lets you opt-in to account migration for your legacy Google Tag Manager Accounts. Migration means simply that the accounts will be converted to V2 accounts, and you will have access to all the new features the upgrade provides.
In this #GTMtips post, we’ll go over the migration steps (it’s pretty simple), and I’ll leave you with a couple of tips on how to get started with the new features.
XThe Simmer Newsletter
Subscribe to the Simmer newsletter to get the latest news and content from Simo Ahava into your email inbox!
Tip 20: Launch the Migration Assistant
Browse to http://tagmanager.google.com/. That’s the URL for GTM V2. When you enter the site, the Migration Assistant should pop-up immediately. You can choose to launch the assistant there and then, or you can cancel and do this later.
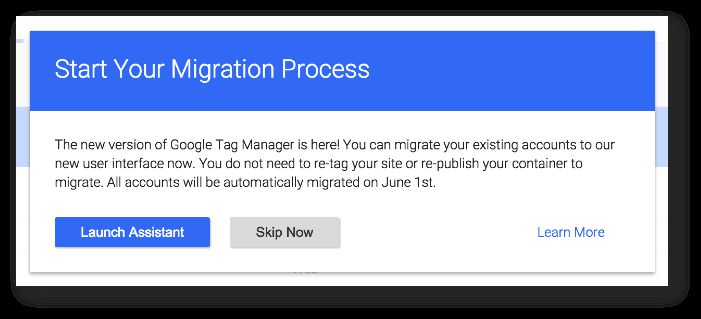
If you do choose to cancel, you can launch the Migration Assistant by scrolling down to where the “Legacy Accounts” are listed on the V2 start page. In the title bar for the “Legacy Accounts” is a button that will also launch the migration tool.

When you do choose to launch the Migration Assistant, all your legacy accounts will be listed. You can select one or many from this list. After selecting the accounts, clicking Migrate will start the migration process.
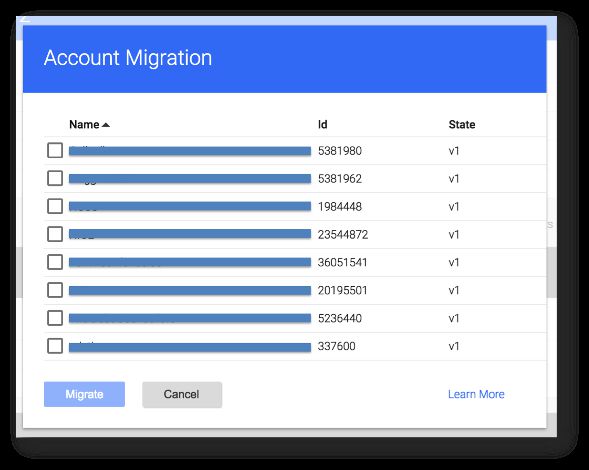
The migration process is designed to be completely transparent. You will not need to edit the container snippet on the page template, nor will you need to republish the container version.
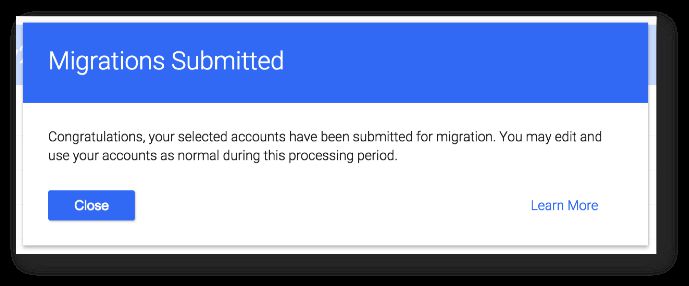
It will take some hours for the migration(s) to complete, so be patient.
Once the migration is done, you can start using the V2 features in your container. Here are two things you might want to get acquainted with.
1. Trigger-based Auto-Event Tracking
If you had setup auto-event tracking in your legacy container, you’ll have used the Event Listener Tag templates. However, in V2, auto-event tracking is now Trigger-based, and does not require a separate tag setup anymore.
Take a look at my guide for auto-event tracking in GTM V2. What you’ll need to do is take the conditions from your old “Firing rules” (now converted to custom Triggers), and use them in the dedicated auto-event Trigger types: e.g. Click, Link Click, and Form Submit.
For example, if you had a Firing Rule that looked like:
{{event}} equals gtm.formSubmit
{{element id}} equals contactForm
In V2, you would create a Form Submit Trigger, and in its “Fire When” settings, you would add the condition:
Form ID equals contactForm
This does require that you activate the built-in Form ID variable as well (see below).
Anyway, follow the guide, and you’ll have a better idea of what you need to.
2. Built-in variables
In V2, the most common variables you’ll need are available as built-in variables. You can read more about them in my Variable Guide for GTM V2. I suggest you use these, as they will keep the container size down, and activating them is as simple as checking a box in the Variables screen.
When you migrate from V1, you’ll have a bunch of pre-defined legacy variables such as {{url}}, {{url path}}, {{element url}}, etc. These all have equivalent built-in variables, so one of the things you might want to do is activate the respective built-in variables, and then modify your Tags and Variables to use these instead.
Here’s a pretty sweet way to replace your user-defined variables with their respective Built-in Variables, courtesy of Brian Kuhn:
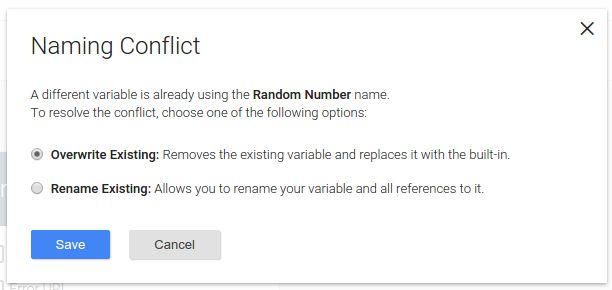
Make sure the Built-in Variable has been deactivated
Rename the user-named variable (e.g. {{url}}) to its respective Built-in Variable (e.g. Page URL)
Reactivate the Built-in Variable, and choose Overwrite in the pop-up that’s displayed
This will update all your Tags, Variables, and Triggers to use the Built-in Variable instead.
Do note that this isn’t required, but it’s a good idea to migrate completely to V2, so that you can leverage the new features as much as possible.
