The Custom HTML Tag Guide For Google Tag Manager
One of the most prominent features of Google Tag Manager since the dawn of time (actually, late 2012) is the Custom HTML tag. This little piece of magic lets Google Tag Manager inject an HTML element to the page. Since time immemorial (still late 2012), it’s allowed us to turn Google Tag Manager from a sandboxed prisoner of the native tag templates to a no-holds-barred client-side content management solution.
In this article, we’ll discuss how the Custom HTML tag works, and what you might be tempted to use it for.
XThe Simmer Newsletter
Subscribe to the Simmer newsletter to get the latest news and content from Simo Ahava into your email inbox!
The Custom HTML tag
As the name implies, the Custom HTML tag lets you add HTML elements to the page.
Anything you type into the Custom HTML tag will be interpreted as HTML.
Adding content to the tag
Let’s create a Custom HTML tag that looks like this:
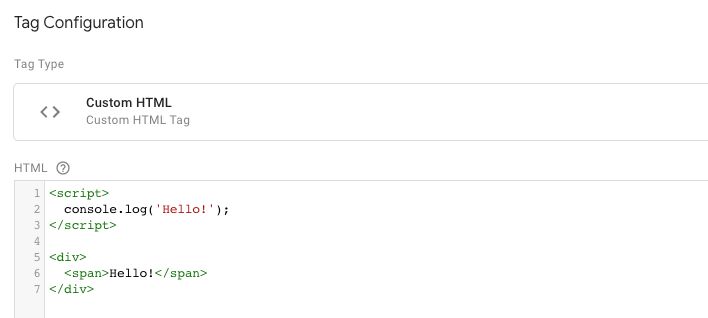
<script>
  console.log('Hello!');
</script>

<div>
  <span>Hello!</span>
</div>
This tag adds three elements to the page: a <script> block compiled into and executed as JavaScript, a div block, and a <span> embedded in the <div>.
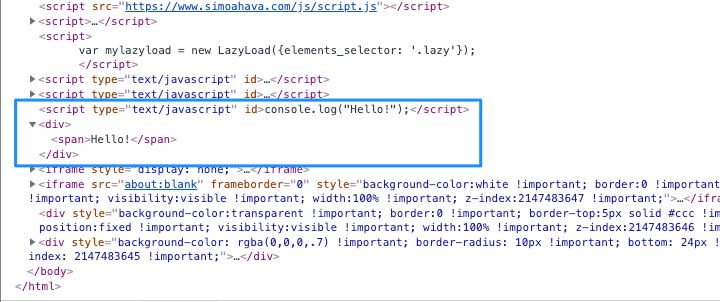
When you publish the container and take a look at the minified source of the container JavaScript (as we all do), here’s what it looks like:

The reason your beautifully formatted tag looks like this is because the HTML is encoded - a wise step to take before any strings are evaluated into HTML elements.
You might wonder what the
enableIframeModeandenableEditJsMacroBehaviorflags are - well, they’re legacy features that are no longer visible in the UI. If you know your stuff, you can actually make them show up in the Custom HTML tag interface, but they won’t do anything.
So, you’ve now created a Custom HTML tag, and you’ve seen how the tag is added to the container library. But how does it end up on the page? And where?
The injection
When it’s time for Google Tag Manager to “fire” the Custom HTML tag, it goes through the following motions:
- A dummy
<div>is created to which the encoded string representing your Custom HTML tag is added using the.innerHTMLproperty. - This forces the browser to parse the encoded string as HTML, resulting in the tags you added to the Custom HTML tag to actually turn into HTML elements.
- One by one, these elements are removed from the dummy
<div>and passed for injection. - Upon injection, each element is added as the last child of the
document.bodyelement.
There are some nuances to this process, such as how Google Tag Manager handles the onHtmlSuccess and onHtmlFailure callbacks in tag sequencing, and how <script> elements are stripped of all custom attributes before injection. But overall, this is the process.
Now, what this essentially means is that anything you type into a Custom HTML tag is added to the end of body, whatever that is at the time of injection. Typically, this translates to: “The bottom of the page”, but this is not a given with today’s fluid layouts.
One extremely important thing to keep in mind is that when you add a new element to the page you force a reflow of the content. Basically, the browser has to calculate again dimensions, positioning, layouts, and attributes of elements preceding, surrounding, and nested within the injected element.
This is not a painless operation. Each element you add compounds to the problem, and on single-page apps which might not reset the DOM between transitions, you could end up with hundreds of injected elements on the page, each hurting the performance in exponential increments.
We’ll get to this in the summary, but just to foreshadow the conclusion:
Avoid using Custom HTML tags unless it’s absolutely necessary.
Yes, I do recognize the irony of such a disclaimer on this particular article.
Scenarios for Custom HTML tags
Why use Custom HTML tags? Why use a tag management solution for element injection?
Great question! And one I don’t have a hard-and-fast answer for. I’d say an abundance of Custom HTML tags in a container is symptomatic of one (or more) of the following things:
- You have use cases far too complicated for GTM’s native tags or custom templates to handle.
- You have too little knowledge about GTM (or JavaScript) to know that some of your custom HTML tags could be replaced with native tags or custom templates.
- You have an inflexible organization, where getting the web developers to add your customizations directly to the page templates (or other site code) is not an option.
- You’ve found a cool thing online, and you want to quickly proof-of-concept it before passing it to the web developers for proper implementation.
- You are drunk with power over what you can do on your site with Google Tag Manager, and no bald dude from Finland is going to stop you from doing it.
It’s your container - you are of course free to use it however you wish. But if scenarios (2) and (3) ring a bell, I strongly urge you to seek change to the status quo. Being ignorant about the intricacies of GTM and JavaScript can be counter-productive to the beneficial effects that these technologies enable. Similarly, working against the constraints set by your organization will cause more friction in the long run, and can lead to inflamed communication structures, a crappy site, and unstable data collection.
Having said all that, let’s explore some of the scenarios where you might be tempted to use a Custom HTML tag!
Adding an element to a particular position on the page
The downside of the Custom HTML tag is that it injects the element to the end of <body>. But what use is that? If the element is a visual component (something that should be shown on the screen), then most likely the end of <body> is not where you want it to end up in.
To rectify this, you need to use JavaScript and its DOM manipulation methods.
The trick is to find some element that’s already on the page, and then position the new element relative to that.
For example, let’s say I want to add a little subtitle to this current page, so that it ends up looking like this:

Now, if I created a Custom HTML tag with just this:
<h3>It's really cool - I promise!</h3>The element would be added to the end of <body> and wouldn’t look very good.
So, instead, I need to create a new element with JavaScript, and then position this new element relative to the title of the page.
<script>
  (function() {
    // Create a new H3 element
    var h3 = document.createElement('h3');

    // Add the text content
    h3.innerText = "It's really cool - I promise!";

    // Get the reference to the current heading
    var title = document.querySelector('h1');

    // Inject the new element right after the H1
    if (title) {
      title.parentElement.insertBefore(h3, title.nextSibling);
    }
  })();
</script>
The end result? You can see it in the screenshot above.
There’s a subtle irony here - you are using Custom HTML tag to create an element (the <script>) that creates an element (the <h3>). Yes, it would be cool if you could specify in a Custom HTML tag to where the element is inserted. Actually, it would be even cooler if there were a custom template that allows you to create elements with positioning options. That way you wouldn’t need the invasive end-of-body script injection at all!
But I digress.
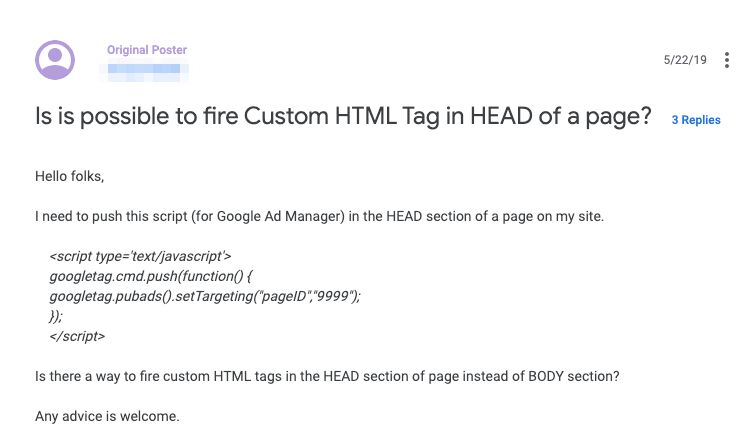
Adding a script “as high up” in <head> as possible
This is somewhat related to the previous scenario, but it deserves its own treatment because of how often the scenario emerges.
Sometimes, a vendor instructs you to “Place our script as HIGH UP in <head> as possible”.
This is instructed because the vendor wants their script to fire as soon as possible on the page. The higher an element in <head>, the sooner the browser parses it as part of the page render.
However, this benefit is largely lost when using Google Tag Manager. When the Google Tag Manager library has loaded, it’s typical that the parsing of <head> has already finished, and the browser is well into rendering the <body>. Because of this, trying to inject a script as high up in <head> as possible doesn’t make any sense, and is actually detrimental to the intended end result.
Why? Because when you create a Custom HTML tag that then creates an element and injects it into <head>, the browser first needs to inject the Custom HTML tag (performance hit), and then it needs to create the new element (another performance hit), and finally it needs to inject the new element into <head> (performance hit).
Instead - all you need to do is add the <script> directly to the Custom HTML tag. This way it will get inserted to the end of <body>, and the browser will execute it as soon as possible.
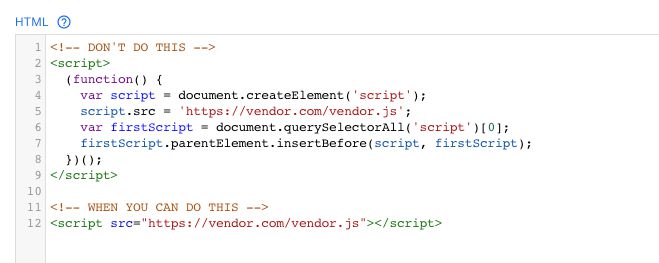
Load vendor JavaScript
In fact, let’s continue the thought experiment from the previous scenario. Let’s say you do have a vendor whose JavaScript you want to load on the site, and you’ve established that all you need to do is add the <script> element to the page with a Custom HTML tag.
My friend. Do not use a Custom HTML tag at all.
Instead, create a custom tag template that uses the injectScript API to load the library.
Custom templates are optimized to inject and load the JavaScript, and they introduce a permissions and policies model for safe(r) injection.
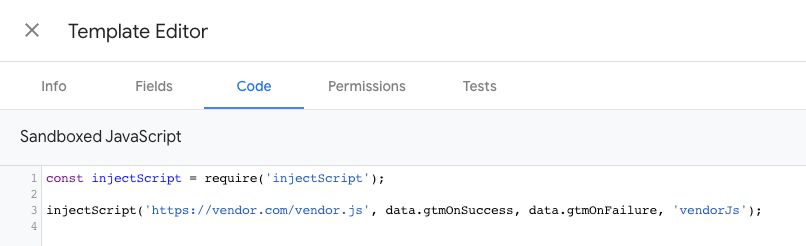
Going forward, this will be the best way to proceed with <script> injection. It won’t help you with some of the other scenarios, as the JavaScript sandbox of templates is extremely restricting. So if you want to add custom event listeners, for example, you’ll still need ye olde Custom HTML tag.
Modify user experience
One of the things you might be tempted to do with Google Tag Manager’s Custom HTML tags is modify the user experience. This could be adding something like a cookie banner, or maybe editing the styles on the page, or perhaps adding an <iframe> that loads some fancy widget to your ecommerce site.
I’d like to warn you of the perils of doing these things with Google Tag Manager.
First of all, Google Tag Manager can be blocked by browsers (e.g. Brave) and by ad/content blockers. This is a rising trend (with browsers’ tracking protections reducing the need for separate ad blockers).
The second reason is that you are separating functionality and/or experience from the site itself. You’re most likely relying on the positioning and selection of specific HTML elements to anchor your custom code. However, Google Tag Manager is decoupled from your site builds, and it’s extremely perilous to assume that the site will stay unchanged.
Thus, if even a single selector in your querySelector() argument changes on the site, your custom-built code can stop working or, even worse, break something else on the site.
On top of these are the reasons related to performance that I’ve mentioned earlier in this article. Each dynamic element injection will exponentially degrade the page performance, leading to annoying things like your custom elements flickering in and out, to degraded data quality (when an iframe you dynamically modify has time to load before you make the changes), all the way to page-stuttering, user-experience-decimating slowness, especially on single-page apps.
So, please, do consider not using Google Tag Manager as a content management system.
Summary
This was a brief foray into the magical world of Custom HTML tags.
If I could talk to the 2012 me, I would tell him to start considering the downsides of Custom HTML tags sooner, and stop getting drunk on Google Tag Manager’s infinite capability for script injection and rather think about the whole organization, the whole site, and the whole context of the environment where GTM runs, before making hazardous decisions just because.
That being said, Custom HTML tags do have their use cases today. In fact, creating a click listener with a Custom HTML tag (document.addEventListener()) can actually be better than firing some custom code with Google Tag Manager’s click triggers.
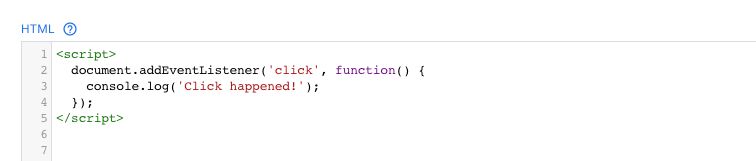
This is because a click trigger would fire the tag again and again (injecting it again and again) whenever the click trigger is a success. Whereas if you create your own little click listener in a Custom HTML tag and handle the repetitive task in the callback, you’ll avoid the injection mayhem.
I also strongly vouch for the usefulness of Custom HTML tags for building proof-of-concepts. You can quickly try out different experiences and designs, and you can publish the changes for a sample of your visitors. If you’re happy with the results, you can then propose these changes to be added to the site code proper.
Nevertheless, perhaps one day, I hope, custom templates will make Custom HTML tags obsolete.
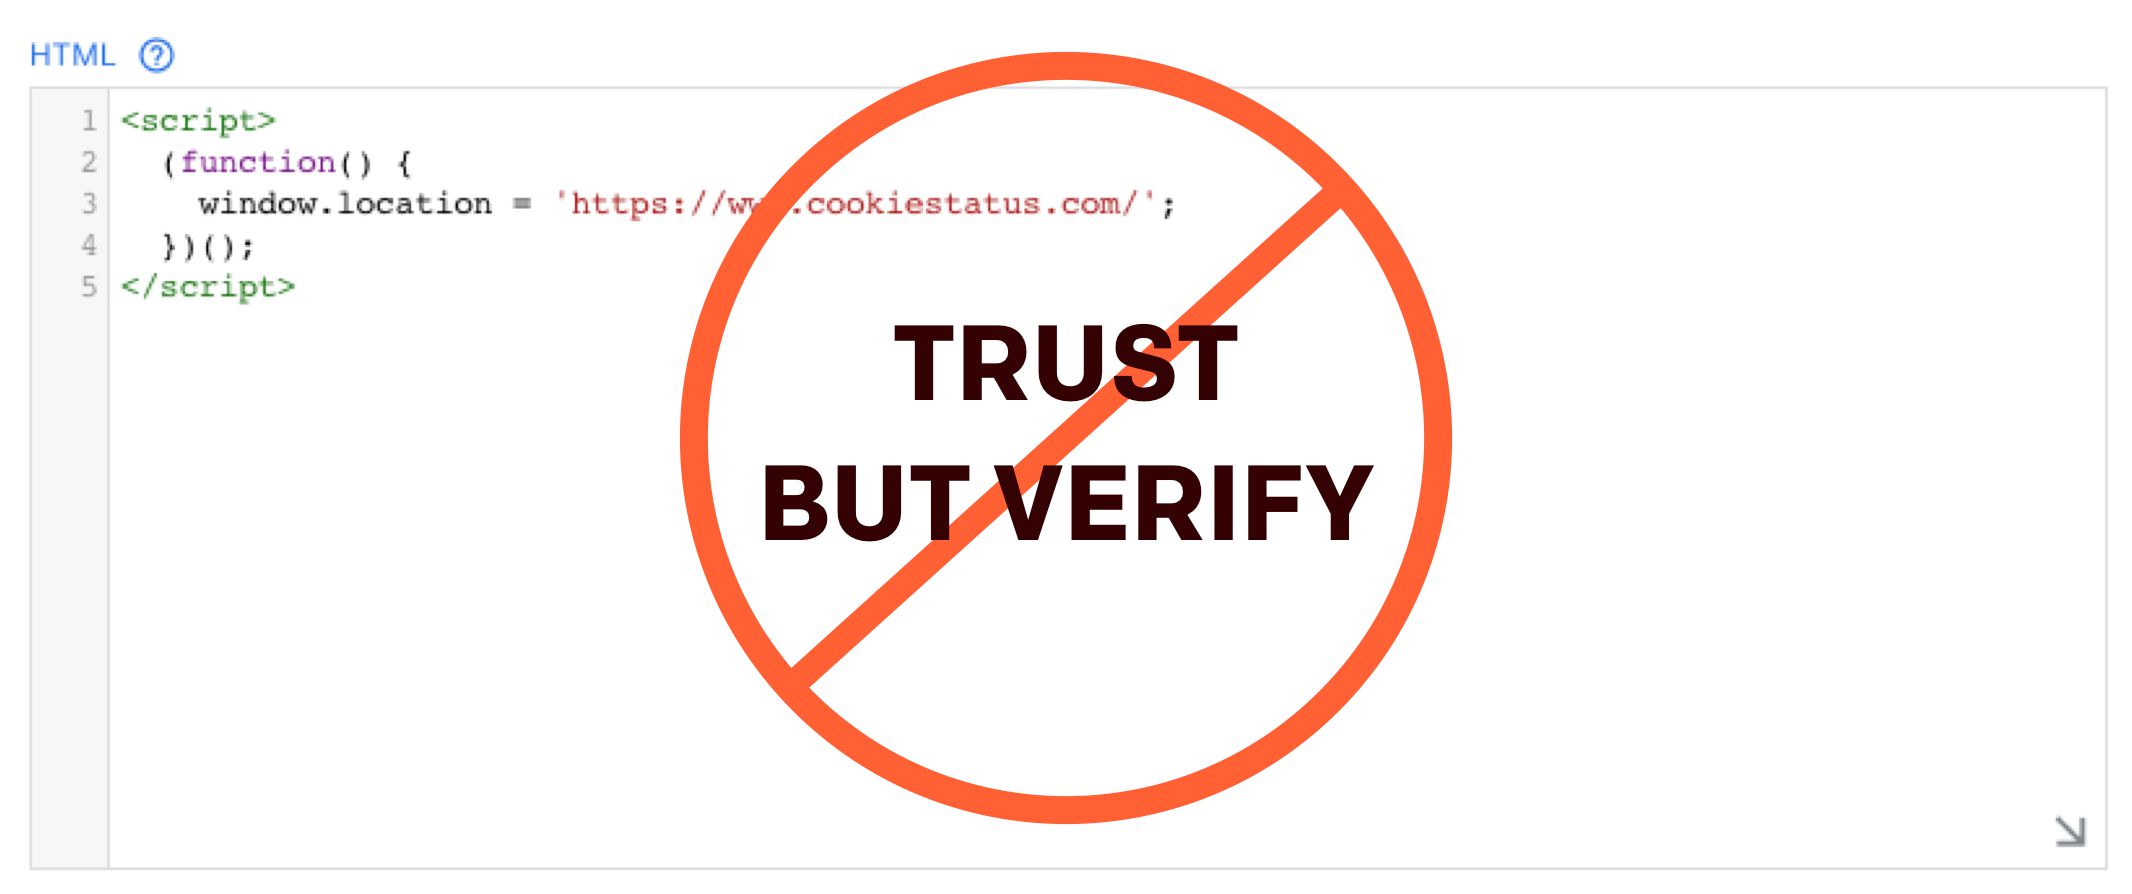
As parting words, when using Custom HTML tags especially to inject code you’ve found online, a famous Russian proverb is not out of place:
Trust, but verify.
If you don’t understand what the code does, consult your friendly local web developer and ask them.
