Capturing The Correct Element In Google Tag Manager
Last updated 24 August 2022: The instructions in this article are no longer that useful, as you can simply use the native JavaScript
Element.closest(selector)method instead of the {{Find Closest}} trick described in this article. Browser support forclosesthas thankfully improved a great deal since this article was originally written.
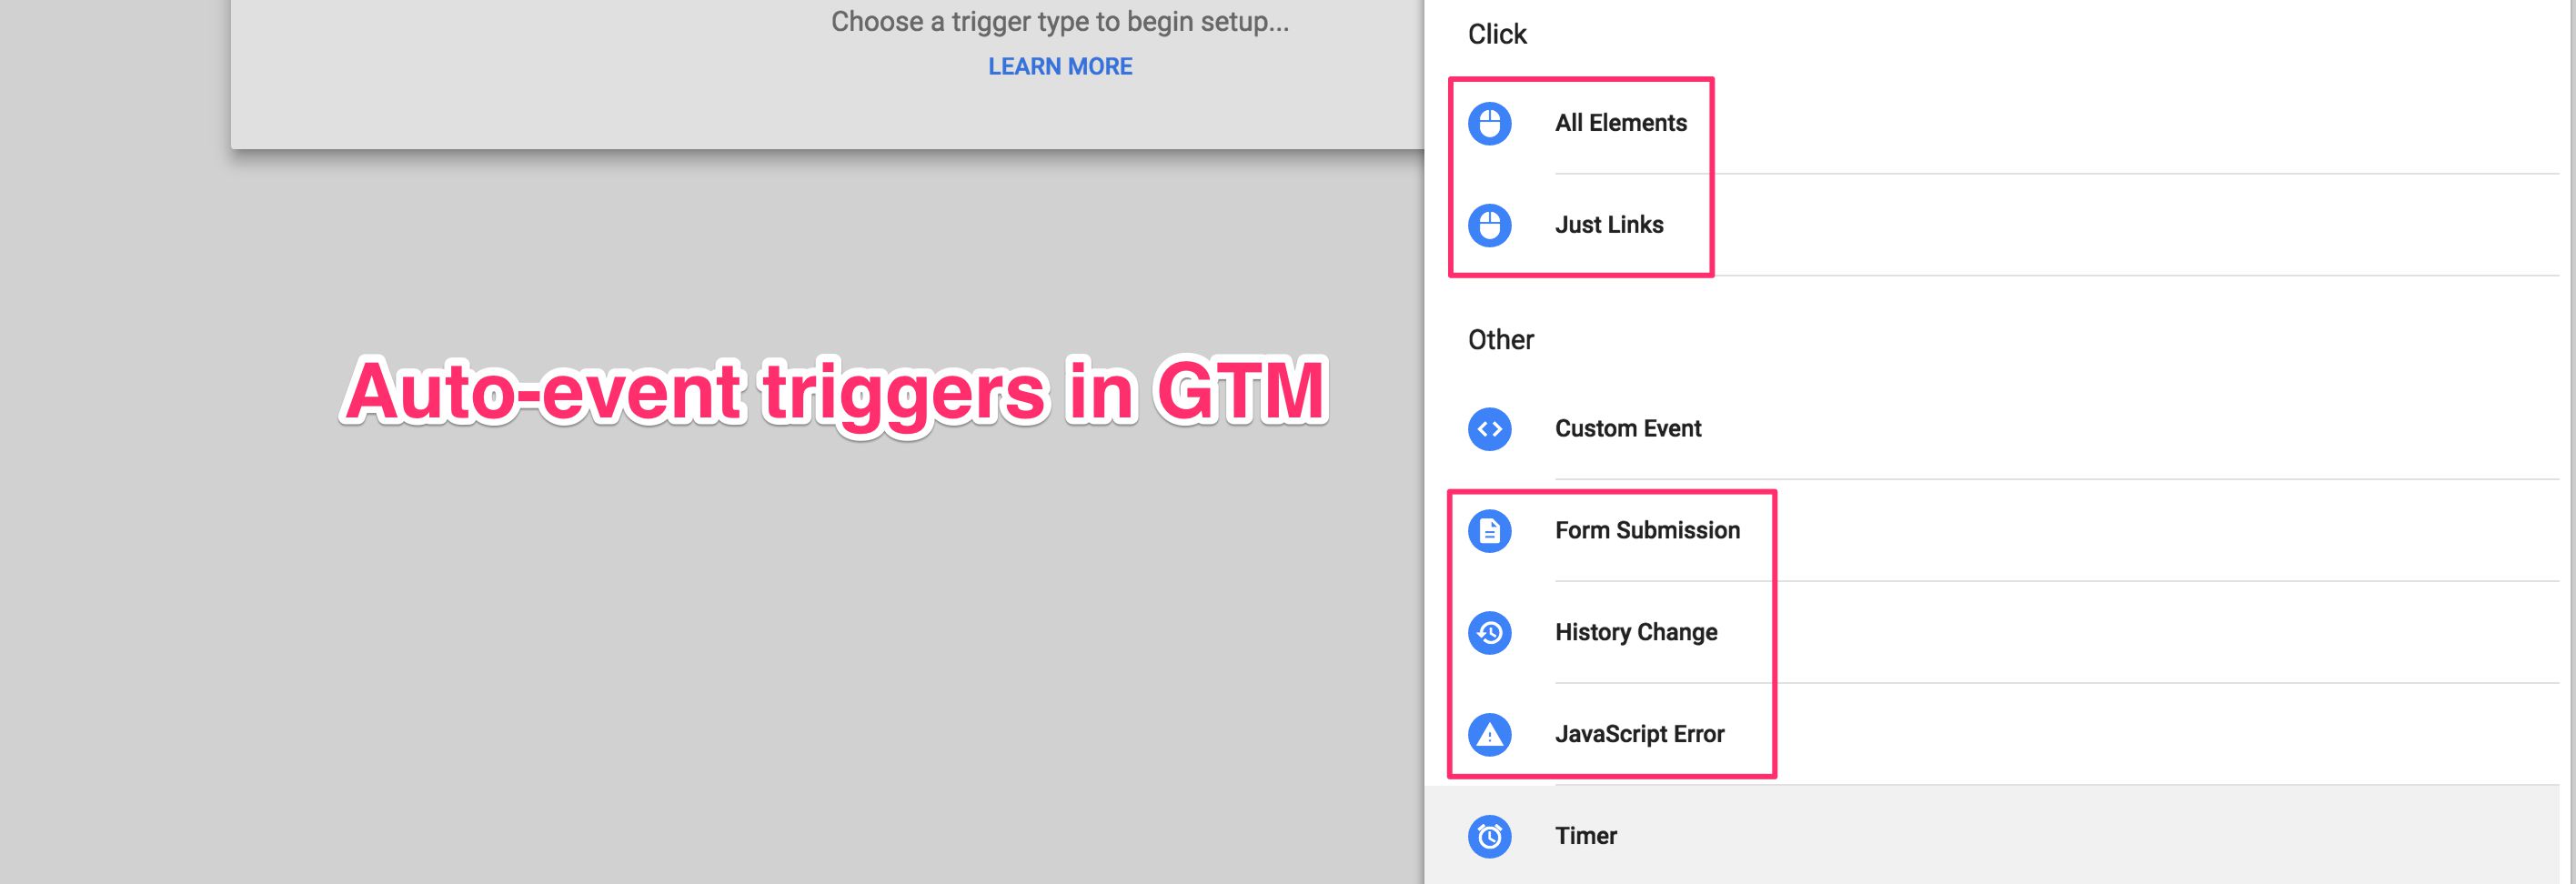
Google Tag Manager provides us with a bunch of handy triggers, designed to make capturing user interactions on the website much easier. These triggers are part of a paradigm called auto-event tracking, which comprises the Click, Form, History, and JavaScript Error trigger types.
Now, I’ve covered GTM’s triggers many, many times before. If you need a refresher, take a look at the following articles:
- Trigger Guide For Google Tag Manager
- Auto-Event Tracking In GTM 2.0
- Fix Problems With GTM Listeners
- Why Don’t My GTM Listeners Work?
In this article, I want to tackle a specific aspect of Click triggers. If you’ve used them before, you’ll know (at least) two things:
-
The Just Links trigger captures the link element (
<a/>) that is the nearest wrapping link of the clicked element. -
The All Elements trigger captures the clicked element itself.
In other words, the Just Links trigger actually climbs up the document until it finds a link element, and returns that for GTM to process. The All Elements acts more like a regular handler: it simply returns the element that was clicked.
In this article, I want to show you how to leverage especially the All Elements trigger more effectively. Basically, you might want to use the All Elements trigger, but then mimic the Just Links trigger to find some nearest wrapping element, and return that for GTM to use.
XThe Simmer Newsletter
Subscribe to the Simmer newsletter to get the latest news and content from Simo Ahava into your email inbox!
Why use All Elements?
Well, there’s one obvious reason: There are all sorts of elements on the page you might want to track. Even though links are a very popular tracking item, there are many elements that have nothing to do with links.
Perhaps you want to track a button, or a form field, or an image. In these cases, you will need the All Elements trigger.
Another reason you might not be aware of is very significant: The All Elements trigger uses the capture phase of the event path. The Just Links trigger, as well as pretty much all other GTM triggers, utilize the bubble phase.
And why is this significant? Because event propagation is most often cancelled in the bubble phase! Many people have come across forms and links that simply refuse to fire their respective triggers in Google Tag Manager. The reason is that other JavaScript on the site can prevent the event from climbing up the document to where Google Tag Manager’s listeners are waiting.
But when you use the All Elements trigger, you are using the capture phase, which is cancelled far less often.
In other words, you can actually use the All Elements trigger to apply link tracking for links that do not create a GTM event when using the Just Links trigger!
The only problem with this approach is that the All Elements trigger returns the actual element that was clicked. For example, let’s say you have HTML like this on the site:
<div id="contact-us">
  <a href="mailto:[email protected]">
    <span>Send me mail</span>
  </a>
</div>
If you used a Just Links trigger, and event propagation wasn’t stopped, clicking the link will pass the <a href="mailto:[email protected]"/> to Google Tag Manager as the target element of the event. But if you’re using the All Elements trigger, GTM captures the <span/>, because it’s what the click actually landed on!
So how do we get the benefit of All Elements with its capture phase handler, but still be able to capture any element up the DOM tree?
With some Custom HTML Tag and Custom JavaScript variable magic, of course!
The solution
The solution comes in two parts. First, we need to create a Custom HTML Tag that introduces a polyfill (read: workaround) for older browsers which might not support the method we’re going to use.
Next, we’ll use a Custom JavaScript variable to create a generic function to which we can pass a CSS selector. This function, in turn, climbs up the document tree and returns the element that matches the selector.
Note that you can achieve most of this easily with jQuery or something similar. However, I want to show the native JavaScript way of doing it, since it’s not actually that complex.
The Custom HTML Tag
The Custom HTML Tag should fire as early as possible on the page, so you can use the All Pages trigger, if you wish. This is what it holds:
<script>
  if (!Element.prototype.matches) {
    Element.prototype.matches =
        Element.prototype.matchesSelector ||
        Element.prototype.mozMatchesSelector ||
        Element.prototype.msMatchesSelector ||
        Element.prototype.oMatchesSelector ||
        Element.prototype.webkitMatchesSelector ||
        function(s) {
            var matches = (this.document || this.ownerDocument).querySelectorAll(s),
                i = matches.length;
            while (--i >= 0 && matches.item(i) !== this) {}
            return i > -1;
        };
  }
</script>
This is a good addition to the site code in general, so if possible to add it to the regular JavaScript of the site, I recommend you do!
The polyfill is gratefully copied from the Mozilla Developer Network pages.
The script checks if the browser supports the method Element.matches() or any of its alternatives. If no match is found, then it’s fixed with a custom method that scrolls through the document elements and checks if any of them matches the given CSS selector.
Once this is running, you can start using it!
The Custom JavaScript variable
To make things work, we need a little utility Custom JavaScript variable. So create a new Custom JavaScript Variable, and name it {{Find closest}}. This is the code you need to put within:
function() {
  return function(target, selector) {
    while (!target.matches(selector) && !target.matches('body')) {
      target = target.parentElement;
    }
    return target.matches(selector) ? target : undefined;
  }
}
This function takes two parameters: target and selector. The first is an HTML element such as the {{Click Element}} built-in variable. The latter is a CSS selector string. The CSS selector is what you use to tell GTM the following:
Starting from
target, start climbing up the wrapping DOM structure until you find an element that matchesselector. If such an element is found, return it. If such an element is NOT found, return the original event target.
The idea here is that even though the click landed on the element you wanted to target, you might actually want to access some other element relative to the original event target. For this, the matches() workaround is invaluable, as it lets you traverse element-relative paths.
How to use it
Once you’ve set up the polyfill and the Custom JavaScript Variable, you can leverage the variable in all your Google Tag Manager JavaScript with the following syntax:
var elementFound = {{Find closest}}(someHTMLElement, 'someCSSselector');
For example, let’s say you have an HTML structure that looks like this:
<div id="product_12345">
<div class="details">
<h2>Product 1</h2>
</div>
<div class="link">
<a href="product1.html">
Product 1
</a>
</div>
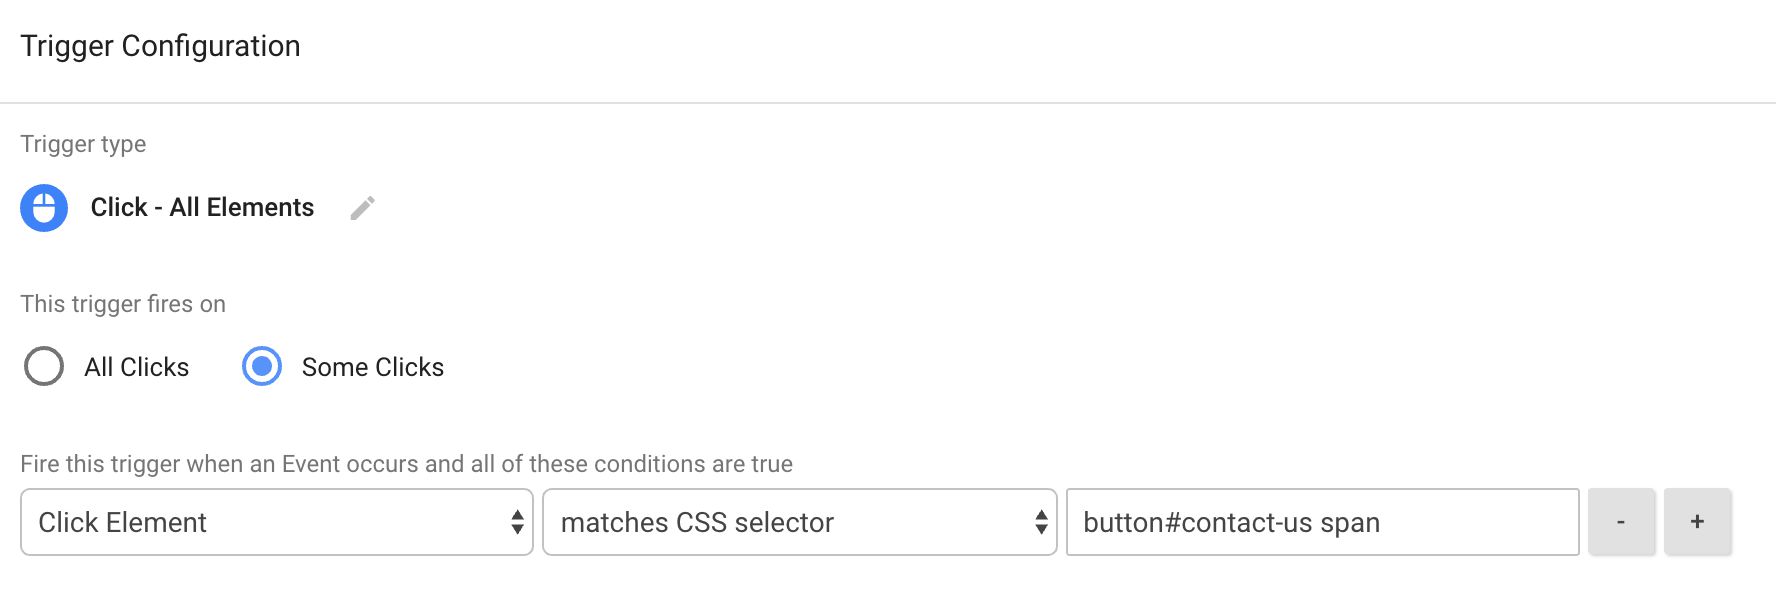
</div>Now, you’ve set up a Click - Just Links or Click - All Elements trigger to capture clicks on the <a/> element. Now, however, you also want to grab the value of the id attribute from the very top-most div (“product_12345”). To get that, you could use a Custom JavaScript Variable like this:
function() {
  var el = {{Find closest}}({{Click Element}}, 'div[id^="product"]');
  return typeof el !== 'undefined' ? el.id : undefined;
}
This Custom JavaScript Variable takes {{Click Element}} (the element that was originally clicked), and then starts walking up the DOM until it finds a div whose id attribute begins with the string “product”. If such an element is found, it returns the value of the id attribute in question. If the element isn’t found, it simply returns undefined.
Summary
Traversing the Document Object Model with CSS selectors can be a very good friend to you, indeed. Click handlers are usually too accurate, as they return elements we didn’t expect them to return, or they return elements too deep in the DOM to matter.
That’s why it’s good to have a tool that lets you access the DOM structure more deliberately. Traversing the DOM with the {{Find closest}} workaround is a nice way to achieve the type of freedom using native JavaScript that is typically found only within frameworks like jQuery.
