#GTMTips: Add Konami Code To Your Site
You’ve probably heard of the Konami Code. It’s a cheat code in many Konami games, where the cheat is executed with a sequence of key presses on the keyboard. Since then, it’s become one of the staples of video game folk lore, and many websites, games, and applications have their own easter eggs activated with the Konami code.
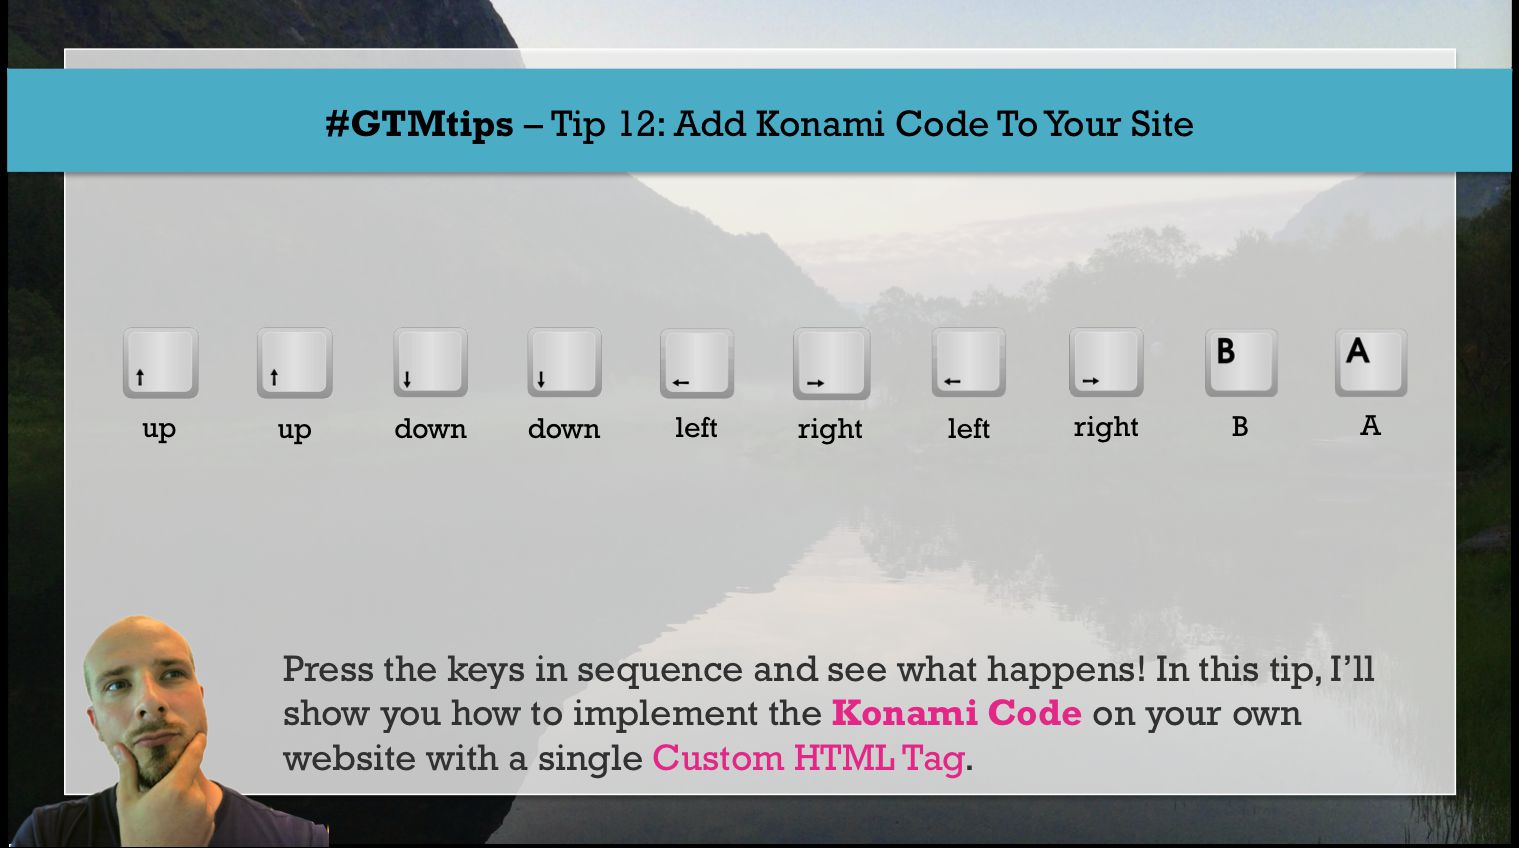
The sequence of keys is:
up, up, down, down, left, right, left, right, B, A
Feel free to try it on this site!
In this #GTMtips post, I’ll show you how to implement the Konami Code on your website with a single, very simple Custom HTML Tag.
Before I go on, kudos for the idea goes to the awesome Gerry White, who graciously allowed me to steal his brilliant idea.
XThe Simmer Newsletter
Subscribe to the Simmer newsletter to get the latest news and content from Simo Ahava into your email inbox!
Tip 12: Add the Konami Code to your website
The implementation is simple. All you need is a Custom HTML Tag which fires on All Pages. The code in the tag looks like this:
<script>
  var els, i, len, title;
  var konamiCode = '38,38,40,40,37,39,37,39,66,65';
  var keyPresses = [];
  var checkKonami = function(e) {
    keyPresses.push(e.keyCode);
    if (keyPresses.slice(keyPresses.length-10).join() === konamiCode) {
      runKonami();
    }
  };
  var runKonami = function() {
    els = document.getElementsByTagName('h2');
    for (i = 0, len = els.length; i < len; i++) {
      title = els[i].textContent || els[i].innerText;
      title = title.trim();
      els[i].innerHTML = title.split('').reverse().join('');
    }
  };
  document.addEventListener('keyup', checkKonami);
</script>
Here’s what happens in the script:
var els, i, len, title;
var konamiCode = '38,38,40,40,37,39,37,39,66,65';
var keyPresses = [];
The three lines above are variable declarations for the script. The first line defines a bunch of utility variables we’ll need later on. The konamiCode variable is a String with the sequence of keys required to execute the easter egg. The key codes and their respective keys are: 38 - up arrow, 40 - down arrow, 37 - left arrow, 39 - right arrow, 66 - B key, 65 - A key.
The third line declares the keyPresses Array, whose job is to keep a record of all keys pressed on the page.
var checkKonami = function(e) {
  keyPresses.push(e.keyCode);
  if (keyPresses.slice(keyPresses.length-10).join() === konamiCode) {
    runKonami();
  }
};
The checkKonami function is the callback for the ‘keyup’ event (see below). In essence, it’s called every time a key press is registered on the page. It takes the event object as a parameter (e).
The first line, keyPresses.push(e.keyCode);, pushes the key code for the registered key press into the keyPresses Array. The next three lines are an if-block, where the last 10 key codes are evaluated. These are joined into a comma-separated String object, and then compared with the sequence of key codes in the konamiCode String. If these two match, that is if the last ten key presses have the same codes in the same sequence as the konamiCode String, the function runKonami is called.
var runKonami = function() {
  els = document.getElementsByTagName('h2');
  for (i = 0, len = els.length; i < len; i++) {
    title = els[i].textContent || els[i].innerText;
    title = title.trim();
    els[i].innerHTML = title.split('').reverse().join('');
  }
};
In the runKonami function you can run whatever code you want to when the Konami code is correctly registered on the website. In my example, I take the text content of every single H2 element on the page, and I reverse the character order.
document.addEventListener('keyup', checkKonami);
The final line of JavaScript adds the event listener for the ‘keyup’ event, and denotes checkKonami as the callback to be invoked each time such an event is registered.
This was hopefully a fun example of how to add a custom event listener on the site, and how to manipulate the DOM in a Custom HTML Tag.
